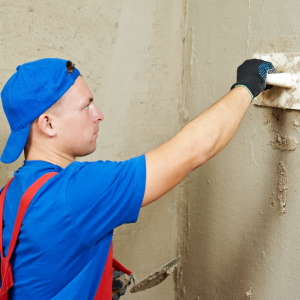
The plaster of the walls is one of the final stages in the construction of the premises, the main purpose of which is to make an even surface suitable for further finish. The implementation of this task occurs using special guide strips - lighthouses, which are a specifically curved and galvanized profile. You can put the lighthouses on the wall in different ways. Consider the most common, using the construction level.
1
Necessary tool:
Building level;
Aluminum rail;
Putty knife;
Leg-split.
2
We divide the wall into strips 1.5 m wide, it is easier to learn to work with a rule of this size. The beacons are installed on any gypsum plaster, which first needs to be prepared. For more convenient work, we attach the level to the aluminum rail.
3
First, clean the wall of pollution. The first guide is placed at a distance of 10-20 cm from the corner. We throw a spatula with the “cakes” of the solution vertically with a step 25-35 cm. Now we take the lighthouse and apply it to the plaster, pressing it into the solution. We bring the rail to the guide, and checking the vertical level by the eye, press the lighthouse in the places where it is necessary for alignment. We smear the solution with a spatula so that the profile reliably holds. At the end, we check the rail again, there should be no deflections between her and the lighthouse.
4
By the same principle, we put the guiding bar in another corner. To install intermediate lighthouses, use twine (apply an even rail of the desired length). We pull the thread between the corner beacons at the top and below. Just as earlier, we throw the solution and fix the following strips on it, exposing them on the twine. In a similar way, we mount the required number of lighthouses, wait for the solution (1.5-2 hours) and proceed to plastering work.
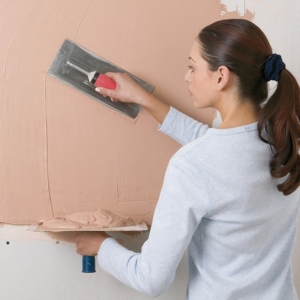
Correctly installed guides allow you to loop the surface as smooth as possible. Additionally, it is recommended to watch a thematic video lesson.