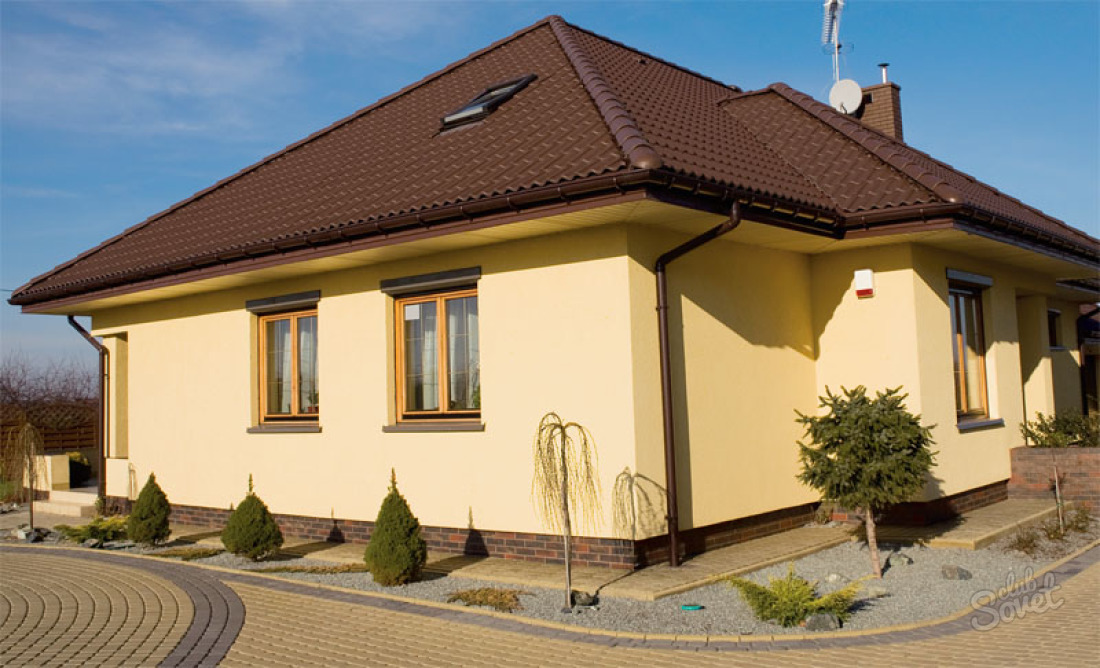
Sooner or later, it is necessary to deal with the need to restore the external facade of the building. Drops of moisture, temperatures, rain, the snow is doing their own business, and the surface of the house is becoming an increasingly non-primary look. To make the walls of an attractive type and alignment of the surface use plaster. This type of building facing is most in demand due to the ease of work.
1
We prepare the wall to the plaster. To do this, remove the old coating, poorly holding the plaster with the help of hammer and chisel. If there are bugs, then we eliminate them, since it will take a lot of material on the level alignment with the wall surface. Clean the walls from dust, blots, dirt.
Preparing materials and tools:
finishing material;
plaster grid;
hammer;
chisel;
primer;
roller;
bucket;
mixer;
putty knife;
level;
lighthouses;
rule;
master OK.
2
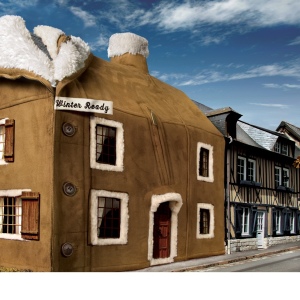
Finishing work should be carried out in dry warm weather. The air temperature must be +5 and higher, humidity - 60-70%. Plastering the wall immediately after snow, the rain is extremely not desirable. If the air temperature is above 30 degrees and straight sun rays fall on the walls, spray them with water, since the solution is most tightly collapsing with gradual drying.
3
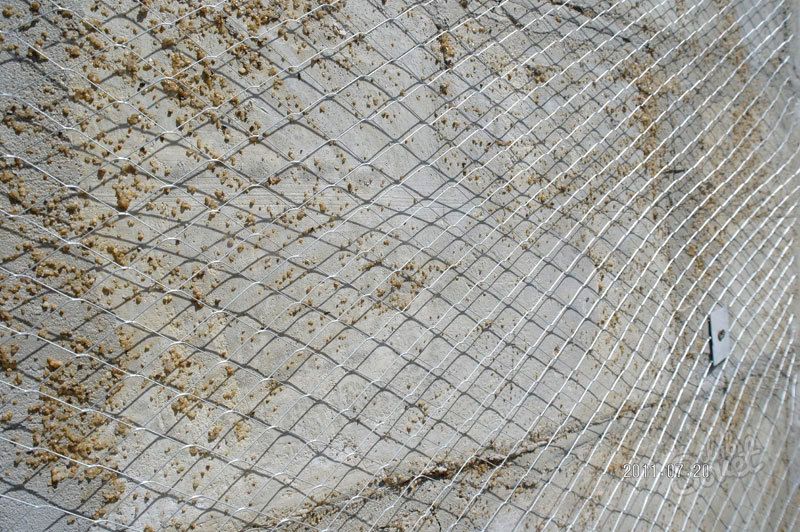
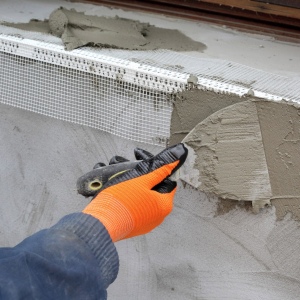
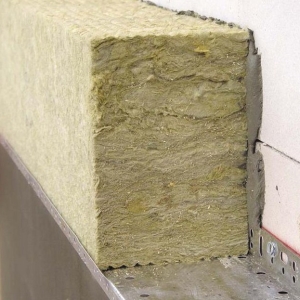
So that the plaster fixes the stronger with the base of the wall, we make the seams on the brickwork. For the walls of foam blocks, draft masonry and reinforced concrete slabs do not do this. The cracks available in the concrete wall are eliminated with rough plaster, processed deep penetration with primer and stuff the grid.
4
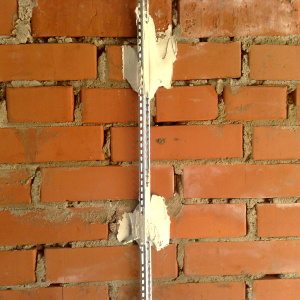
To get a perfectly smooth and smooth surface, install plaster beacons. These are long metal racks with a protruding edge. With the help of a plumb, we carry out the wall and determine the level of the wall deviation. Lights cut off the required length. At a distance of 25-30 cm from the corner of the house, point in advance prepared, thick working solution. Take the beacon and press it into the solution. Using the level, adjust the position of the beacon, pressing or moving it away from the wall. After the vertical establishment of the beacon, the spatula is crushing the applied solution. The same is done all over the outside perimeter of the building, leaving the distance between the beacons of 1.5-2 meters.
5
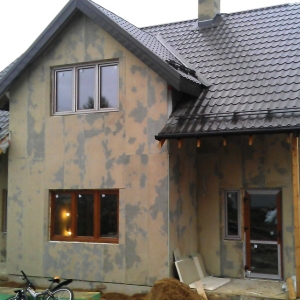
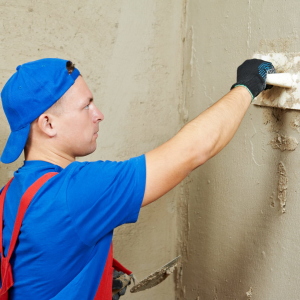
The coating on the facade of the building is applied in three layers. First - spray. We prepare cement-sandy solution, on a consistency similar to a liquid sour cream. In order for the layer applied as reliably as possible with the surface, add some PVA glue. When using other decorative plasters, adhere to the preparation instructions. With the help of a bucket or other capacitance, we screw the solution on the wall and the tricks are closed the surface. Layer thickness - 3-5 mm. Let dry.
6
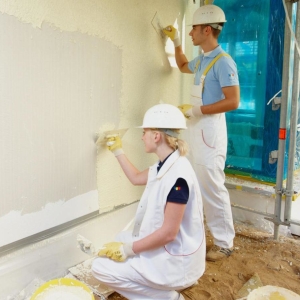
The next step is to apply the main layer. We prepare the same solution, but the passing. We throw with an effort on the wall between the beacons. We take the rule and, focusing on the lighthouses, begin to lifting the layer, moving the rule from side to the side. In places where little solution is applied, I have been replenished, we carry out once again. As a result, a perfectly smooth surface should be turned out. Similarly, we shock all the walls. Layer thickness - no more than 10 mm.
7
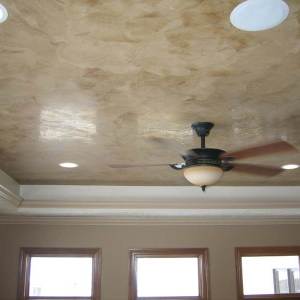
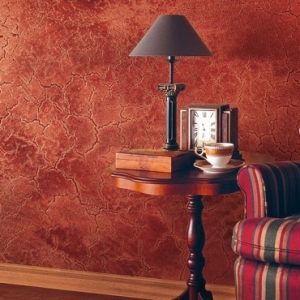
The last stage is grouting or applying decorative plaster for creating a certain texture. When a cement solution is slightly dried, a wooden or foam grater make circular movements on the helix. This procedure is needed to remove air bubbles, smoothing small irregularities. If you want to get a decorative relief pattern on the facade, then with the help of a small semicircular teeth, a bristled brush create a furrow.
The quality of the applied plaster depends not only the neat appearance of the house, but also specifications. Therefore, before you get started, prepare the tools, purchase high-quality materials and look at the learning video.
Share advice:"How to stucked the facade of the house"