Wall finishing wallpaper should be made on properly prepared walls. It has not only aesthetic value, but is the necessary technological stage. The wallpaper is better lying on the aligned walls, and they serve longer. Depending on the initial quality of the wall, the process of its further alignment is selected.
1
If you have conceived to make repairs in the apartment of a new building home, then it is necessary to plaster the wall, and then put off. The layer of plaster is placed on the wall made of bricks, aerated concrete or foam concrete. The solution is prepared in proportion - 1 part of cement and 4 pieces of fine sand. The resulting coarse material is applied to the wall with a special spatula of up to 2 cm thick. The plaster cement-sand material allows you to align the strong flares of the walls.
2
After complete drying of the wall, about 2-3 weeks, primer is applied to the walls for better clutch of the layers. It is best to use a putty on a plaster basis, which passes well and consists of environmentally friendly materials. Depending on the particle size, the starting and finishing putty are distinguished. The first layer is applied to the starting putty, which is divorced by water to the consistency of thick sour cream. Each manufacturer indicates the proportions on the package. The solution quickly freezes, so knead no more than 1 kg.
3
For applying, two spatula is required: medium size to conveniently apply a mixture to a wider. The spatula is applied to the surface at an angle and smear the putty. Start from the floor and move up to the ceiling. To uniformly applying the movement, the spatula alternate, first horizontally, then vertically. The starting layer is applied with a thickness of 2-3 mm. For the next day, surface stripping is performed using special grids. During this procedure, be sure to use the respirator.
4
Surface again primed and finish layer is applied putty 1-2 mm thick coating technology repeats the previous step. The surface becomes white. The fine-grained material fills all the cracks and conceals irregularities. Drying takes place over several hours. Surface sanded and primed. If the primer is instantly absorbed in the wall, then the need to apply another layer of primer solution. The surface is now ready for wallpapering.
5
In some cases you can use only the wall putty for leveling the surface. For example, if you decide to just change the wallpaper, you must apply one coat of finish putty and start in the wallpaper. But do not forget to prime the wall in front of each work step. Apply primer comfortable cushion with telescopic handle.
6
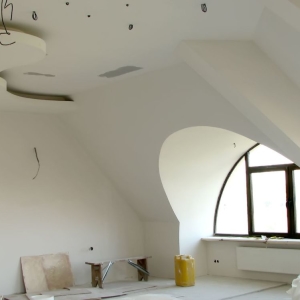
If you want to save money and time, align the walls with drywall. It can be glued with glue or screws to fasten. After mounting surface is required to apply the starting and finishing putty.
For wallpapering is not required perfectly flat wall, allowed small irregularities. They can be hidden by a dense high-quality fights.
Share advice:"How to align the wall under the wallpaper"