Since you started repairs in the apartment, then without putty the ceiling you can not do! Smooth and beautiful walls should be crowned with the same smooth, well-derived ceiling. The principle of operation is almost the same as with the walls, but there are also their nuances.
1
To begin with, we will prepare everything you need:
primer;
velor roller for applying primer or brush maclove;
bath for primer;
putty "Start" and "Finish";
a spatula of different sizes: 40 cm - the main worker, 8-10 cm - auxiliary and to work in hard-to-reach places - 2-4 cm;
ladder;
flashlight to identify flaws;
putty breeding capacity;
industrial mixer or any comfortable device for stirring the primer solution;
grid for strengthening cracks and seams;
gloves to protect hands when working.
2
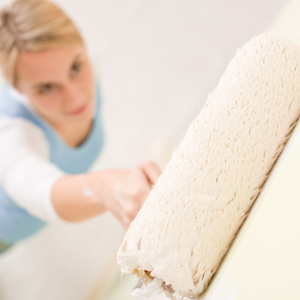
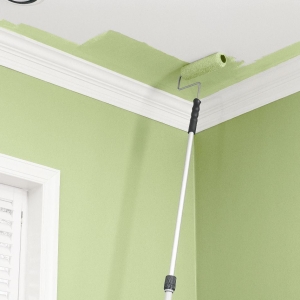
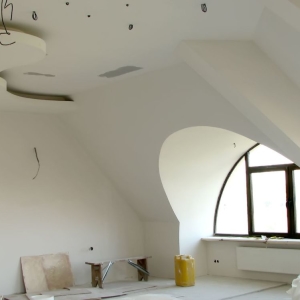
Preparatory work. Before starting work, it is necessary to free the room from furniture and interior items, if possible. If there is no possibility to carry out, then the maximum is well closed, since the primer and putty is firmly eaten on the surface, it is quite problematic to wash it. Also capitally lay down the floor. Now go to the preparation of the surface of the ceiling. If the room is dwelling, then you should first get rid of the previous layers of finishes, which are badly held, carefully clean the surface from paint or wallpaper, immersed. For this, the ceiling is well wetted with water with a roller 2-3 times (can be sprayed). And now we remove all raids with a steel spatula, chippers, cracking plaster and all layers of coating affected by fungus. If the house "Fresh" and repair is the first time, the ceiling is a concrete overlap, a plaster or a drywall design - then such a surface is ground, and then canopy. It is possible to apply primer to the ceiling, but at the same time quite a lot of splashes, the best option will be the applying of the brine. It is worth working in gloves that hit the skin is better to rinse at once for 10 minutes.
3
After the primer is driving, you can start the main job. Cooking a solution of starting putty. In a bucket (or other capacity convenient for you), we recruit water temperature and, constantly stirring, slowly sucking dry powder putty. I bring to the consistency of thick sour cream. By this solution, close all the slots, cracks, joints, fill the deepening. Where necessary, we impose a strengthening grid. Where large holes, the procedure will have to repeat several times. We give time to dry, ideally this day. And only then we take for the main process of shtlock.
4
To determine the unevenness on the ceiling, take the rule (or long rail) and the construction level. We apply the first layer of putty. For this, the auxiliary spatula is gaining a solution and applied to the main worker, distributing around the edge. Now we apply a wide smooth movement on the ceiling. Remove the residues of the solution with auxiliary spatula from the main and discharge into the total mass. We make the next smear. With the subsequent applix of putty on the surface of the ceiling, it is necessary to immediately smooth out all the figures formed. Movement, as if pulling the solution with a flat place to the leveling. The thickness of the first layer should not exceed 5 mm. The number of layers of starting putty depends on the irregularity of the ceiling. Remember that each applied layer of putty must give time to dry before applying the next one. This is usually about a day, but in extreme cases at least 6 hours.
5
The next stage is the application of the finish putty. It should also be prepared, only the amount is much smaller, it is enough 1/3 compared to the starting. The finish putty is applied in the same way, only its layer should be 1-2 mm. It consistency is more finely dispersed, and its function is to align small flaws of the main layer. If the ceiling is preparing under painting, then applying two layers of finishing putty.
6
After complete drying, the surface of the ceiling must be cleared to the perfectly level state. This can be done using emery paper 80-150 or a special plane grinding machine. After stripping, the entire ceiling is pretty ground.
All work with the ceiling is performed on the stepladder either on a large and strong table, as you will be more convenient. After the process is completed, it is necessary to give the time to putty so that it dried well, settled. It would be good for no less than a day. And only after that you can proceed to the decoration of the ceiling.
Share advice:"How to put the ceiling to put the ceiling"