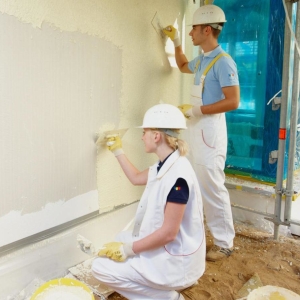
After decoration of the walls and the ceiling by plasterboard, it often arises the need for their further painting. Sheet carcarter sheets are smooth and smooth, but after their installation, the surface is not monolithic. The joints are formed between them, in the places of attachment of the GLC to the frame there are ships of screws, scratches, cracks and small irregularities may appear on the material. All these disadvantages need putty before painting.
Prior to the start of the putty of plasterboard under painting, it is necessary to determine the appropriate material. It is more expedient to take dry mixes, as they have not lost their properties for a long time, the temperature regime during storage does not affect their characteristics, and they can also be used in a small amount, dosed. But the finished putty is more capricious. Depending on the base substance, there are such types of putty for plasterboard: gypsum, cement and polymeric. When working in the kitchen or in the bathroom, give preference to cement composition. Polymer materials are universal, possess good plasticity, it is beneficial to use, as the flow is much smaller than when applying others. The remaining qualities of a large role is played.

- Fasteners heads should not be filtered, tighten them, but no extra effort so that the pits are not formed. As a rule, they are twisted by 5 mm.
- If the hats on the contrary are recessed deep in drywall, unscrew the screws and fix the sheets with new, long. For this use a screwdriver.
- Make sure that on the site where two sheets are joined, the paper layer should not be peeling.
- Otherwise, cut it with a knife, clean the wrinkle that it was formed, with the help of sandpaper, otherwise the putty will disappear along with the rehabilted paper.


- Close up the seams between the sheets. We use a wide and medium spatula. We put a putty on the joints, gaining it with a spatula and stretching for a possible distance. Watch that no irregularities and large drills remain.
- Spun screws. This is done by a cross-like method, applying a substance along and across for a better filling of the grooves of the hats of self-tapping and high-quality masking of their heads.
- Apply putty on the corners. We work in stages, processing at first one side of the angle, and then another when the previous dried to get the perfectly smooth seam.
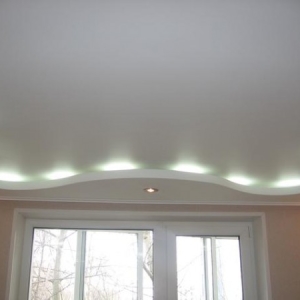
- Window and door slopes should be reinforced using an aluminum corner, attaching it to putty and pressing it into it. After that, the surface is resurrected with a solution, and the outer angle acquires the necessary strength to confront mechanical loads.
- When putty arched passes, it is worth installing a special corner made of plastic. Fasten it with a stapler, but is treated in 2 stages, as it is thicker aluminum, used when finishing the corners. But this does not mean that it is necessary to use a lot of putty mass.
- Clean all the irregularities and roughness that were formed in the process of plasterboard plasterboard, with the help of sandpaper "zero". Be sure to use the respirator! The surface after stripping is treated with soil.
- To put the entire surface of the plasterboard walls begin after all irregularities, seams and corners are dry. To do this, use the finish putty and a wide spatula. When breeding the finish putty, make sure that it is similar to the consistency on the sour cream, which contributes to the uniform applying putty.
- The layer should be done thin. Remember that it is not recommended to redo the work already made, as the wall may not work out, or the paint will fall off the drywall, because in this case there is no strong hitch.
- After the surface dry, and it will happen about a day, pass the surface with a special bar, which is hoping the grinding grid. Normal sandpaper will not work. If defects turned out, cover them and get enough.
- Then apply primer on plasterboard.
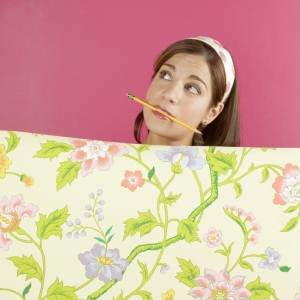
Remember that it is more careful to prepare drywall as under the wallpaper, since the coloring composition repeats the smallest irregularities of the surface, in particular when using a glossy coating.

Only after such works, the walls are ready for finishing, and the paint will feel good. And also, spend the shit when the heating period has already ended, so that the solution was dried evenly and did not crack.