Plasterboard is a universal building material that is used everywhere, including to level the surface under the wallpaper. For blowing plasterboard sheets, you can use any wallpaper: paper, flieslinic, vinyl, textile, velor, made of fiberglass. Consider this procedure more details.
The blending procedure for plasterboard wallpaper begins with preparatory work, which consist in primer and putty surfaces and are necessary to replace wallpaper in the future if such a need arises. Otherwise, the lower layer of wallpaper is tightly stick to a paper-based GLC, and wallpaper will not be able to remove.So, for starters, carefully inspect the surface of the plasterboard walls to eliminate all sorts of defects:
- Before work, make sure that all sockets and switches are removed, and the door platbands are dismantled, open sections must be extended.
- Pay attention to the presence of unsunfranched screws and hats of the dowels that are recessed not to the end. To make sure this, swipe on the surface, it should not be clinging for fasteners. If the caps hurt it, correct it - twist them using a screwdriver.
- Bad, if the outer cardboard layer breaks through the cap, as the sheet will stick to this area not hard, the putty quickly crepts, so get the screws, retreat millimeters 50 and secure it in a new way.
- In addition, remember that it should not remain paper fringe after installation. If it has, then cut it off or use sandpaper to clean off.


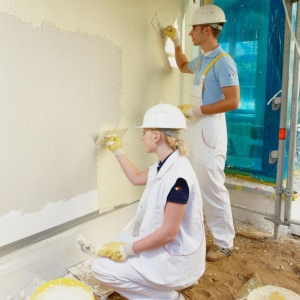
- For the first layer, it is recommended to use the starting putty. It is applied to putty with strokes on the walls, withsting an angle of 45 degrees. It is spilled in such a way that it turned out a layer of 1-2 mm.
- Apply a narrow seam first on the seams, the width of which is about 150 mm, for overlapping the previous layer of putty, and then crumple the spatula to get a smooth surface. Similarly, it should be separated all the seams, plots of fasteners, angles, etc.
- Wait until the primary layer is completely dry - about a day.
- View the surface for damage. If, when applying a solution, cracks, bugs, dents, frozen drops of solution and other irregularities, should be waited for the material to dry and remove them using sandpaper.
- Now you can apply a layer of finishing putty. Since putty is capable of dying, the finish shtpocking is repeated 3-4 times to achieve a perfectly smooth surface of plasterboard walls.


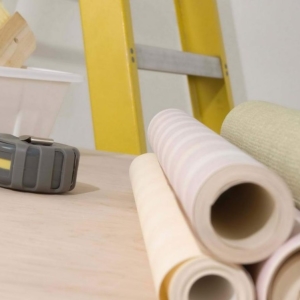
- Start work from the calculations. Find out how much rolls need to go to the room, you can from our article: " How to calculate wallpaper" Here we will not go into details.
- The glue is selected, depending on the material you choose.
- Previously, it is necessary to close all windows in the room, since the draft negatively affects the temperature mode. It is impossible to include fans and air conditioners before drying wallpaper.
- Straighten the surface under the fastening of the first cloth and cut the wallpaper on the length along the length.
- Apply the adhesive composition on a piece, carefully processing the edges, fold it in half and leave for 5-7 minutes. When using heavy wallpapers, apply glue and on the walls to achieve a better clutch. But the paper wallpaper Claute immediately until they stretched and did not risks.
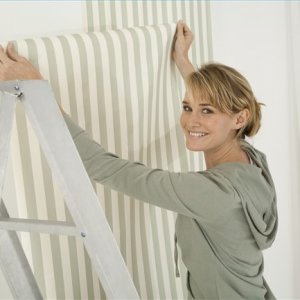
- Sticking stripes standing from the window, so the seams on the plasterboard surface will be less noticeable. Glue wallpapers. You can also consolidate their flashes, and then cut down an excess knife when they are completely dried.
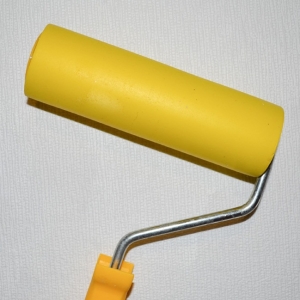
- After fixing the wallpaper, they need to be dissolved and drive out of them from under them, moving from the middle of the panel to the edges. To do this, use a soft brush or roller.

Thus, plasterboard is great for pasting it with wallpaper, despite a rather long preparation procedure.