The durability of the wallpaper coating and the appearance of the interior depends on the preparation of walls and the correct gluing wallpaper. The step-by-step process of sticking wallpaper on putty is described below.
1
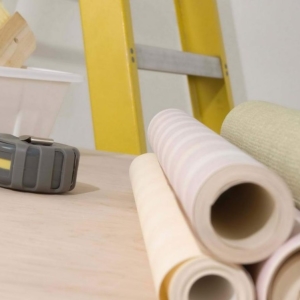
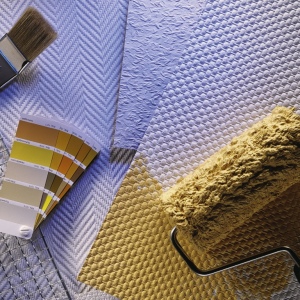
Preparation for work. By the time of gluing wallpaper, you must be prepared by the walls. This includes the removal of old wallpaper, primer, plaster, putty and grinding. Make sure you have done everything preliminary work. Prepare the necessary tools for plating wallpaper:
glue;
roulette;
wallpaper;
construction knife;
wooden bar;
thick thread with a small load;
pencil;
roller or brush;
wet sponge.
2
Preparation of glue. There is powder glue and liquid concentrate. They must be breeded. Also on sale there is already ready glue. Be sure to follow the preparation instructions for packaging. We give an example with powder glue. Pour water into the container, start stirring it, then quickly, for 10 seconds, add glue. During the addition of the powder, do not stop stirring the liquid. Give it to breed for a few minutes, and before applying again, mix again. Remember that high-quality glue is divorced without lumps. While he will achieve the necessary consistency, you can further prepare.
3
Preparation of wallpaper. With roulette, measure the height of the wall. Expand the wallpaper and measure the same length from the roll. Add to the measurement 5-10 cm. Thus, you can avoid inaccuracies. Cut enough strips.
4
Definition of vertical. Before starting sticking, it is important to determine the vertical for the first wallpaper strip with a plumb. To do this, take the bar and wrap it with a thick thread with a small cargo. Submiss the thread to the upper point of sticking and put a mark there. Then lower the thread with the cargo down and put the marks along it. This will allow you to glue the first wallpaper band exactly vertically. It is more convenient to conduct this procedure together.
5
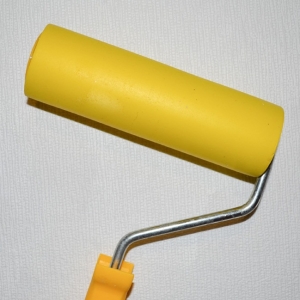
Application of glue. Before that carefully inspect the purchased wallpaper roll. There must be a roller or brush icon. The image of the roller means that glue must be applied to the wall (a layer of about 2 mm). The drawing of the brush says that the composition should be applied to the inner side of the wallpaper. When you apply glider glove, wrap the segment ends to the center. This will allow him to absorb well. After a few minutes you can start shook. Make sure that the glue is evenly distributed throughout the region, otherwise some sites will not stick.
6
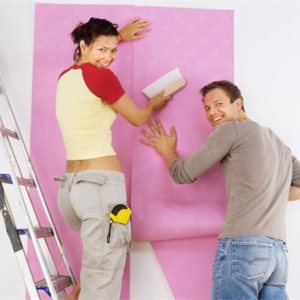
Print wallpaper. Remember that thick wallpaper need to glue an online jack, and thin - brass. It is more correct to take sticking together. One person should be on the stepladder, and the second is to file prepared pieces. Print starts from the ceiling. For fitting, leave on top 2 cm wallpaper. When the first strip is glued, with the help of a sponge, decline the resulting folds and accumulation of air. To do this, spend the sponge first from the center up, then down. After that, take the construction knife and cut the cloth on the junction of the wall and the ceiling, then on the joint of the wall and floor. The next segment is glued in the same way. The remnants of glue immediately remove the wet sponge. Repeat the procedure until you take the entire workspace. In some places, the edge can stick badly. To do this, there is a special junction glue. Gently lift the problem areas, apply glue on the wall and push the material to it.
With the right wallpaper gluing, you can successfully update the room or radically change the space. The consistent and accurate execution of the steps described above will allow you to cope with the task without any difficulties. For better visibility, we recommend that you view a video.