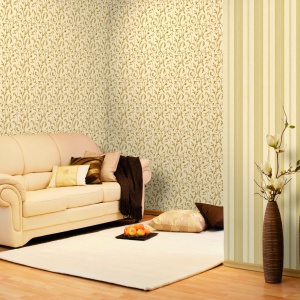
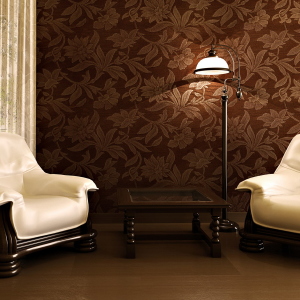
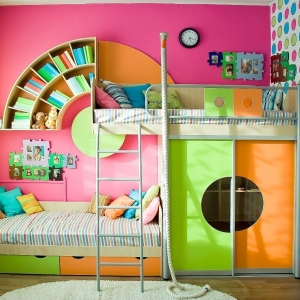
To admire the landscape of his beloved paintings or every morning wake up on the picturesque ocean shore, being in his apartment, possibly with the help of photographic. The taste of the selected photo wallpapers will visually increase the space and help create the desired atmosphere in any room. The sticking of such wallpapers is almost no different from the installation of ordinary.
1
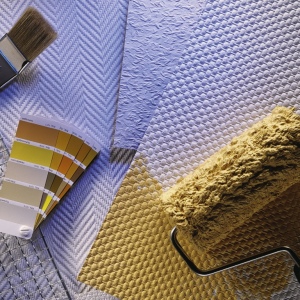
Getting Started, Close all windows to avoid drafts. To work, you will need: glue, rubber roller or spatula, stepladder, large and small brushes, plumb or level, stationery knife and clean rag.
2
Make sure the walls are well prepared. The surface must be smooth, clean, not to have irregularities. Remove the remains of old wallpaper, hooks and robbed nails, carefully close the cracks. Ideally, the walls must be aligned and shaded. Absolutely smooth walls are rare. In order to stick out pictures, use a plumb or level. Follow the wall at a flat vertical line in the place where you plan to start.
3
On the floor, pre-shined newspapers or film, spread the photo wallpaper in order forming the desired image. In order not to get confused when sticking, apply schematic figures with a pencil on the wall, the corresponding sequences of sheets. The most convenient to glue the wallpaper on the right left.
4
Select the glue suitable for wallpapers. In the instructions of the purchased photo wallpapers there will be recommendations, which glue is suitable. It must be carefully stirred, not leaving lumps.
5
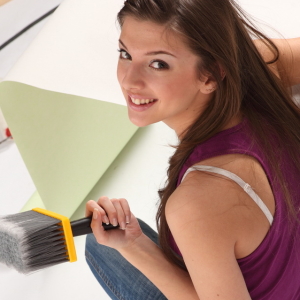
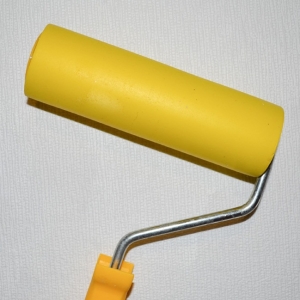
The method of applying glue depends on the type of photo wallpaper. Paper photographs evenly cover glue with a brush, paying special attention to the edges. Without turning them, leave in this form for 3-5 minutes so that the glue is well absorbed. Flizelin or vinyl photovoles should not be covered with glue. With a wide brush or roller evenly and thoroughly apply glue to the wall itself. Usually glue dries over 3 hours. During this time, you need to have all the wallpapers.
6
Punching self-adhesive wallpaper will require good skill. Remove the protective layer and immediately proceed to work, for the glue applied to the photo wallpaper very quickly dries. It is important to unmistakably stick such panels exactly, since any deformation is practically not subject to correction.
7
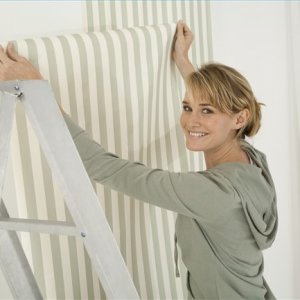
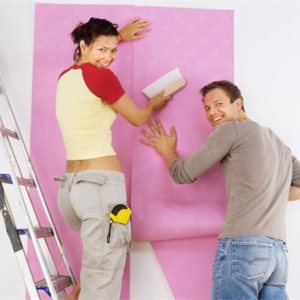
Take the first photo package panel. Stick the floor panel to the ceiling parallel to the line with a line. The resulting air remove with a rubber spatula or roller, carefully smoothing the surface from the center to the edges. Excess glue remove with a wet rag.
8
Start sticking the following sheets. If you require a drawing, stick the blast wallpaper panels, missing a small brush joint with the previous sheet. When all parts of the photo wallpaper are pasted, cut the stationery knife unnecessary parts of the wallpaper from the floor and the ceiling. Do not open the windows in the room until the glue is completely drying according to its instructions.
Installation of photo wallpapers is an economical and easy way to give the usual space a special and unique look. Qualitatively glued photographers will become unique and durable decoration of any room.