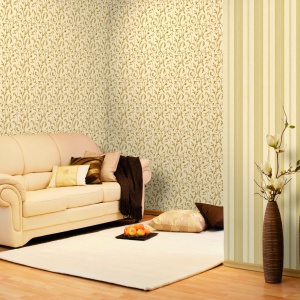
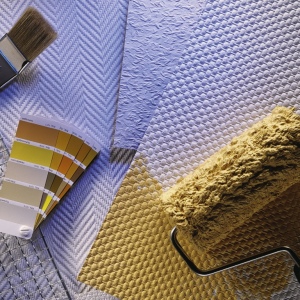
Many owners prefer the ceiling finish with wallpaper, because it is quite affordable material. The surface is smooth and beautiful, without visible seams, if you follow the instructions. Therefore, it is important to familiarize yourself with the technology sticker ceiling wallpaper.
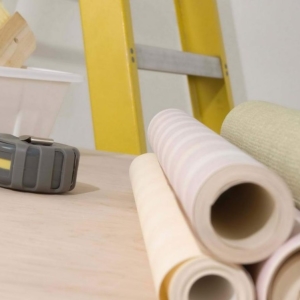
At the first stage, we will choose the wallpaper. Thick, intended for the walls, are not suitable, as they have a lot of weight. Buy only special, lightweight ceiling, for example, phliseline. At the same time, look at the markings where the weight is specified - this indicator should be not more than 110 grams per meter square. For pasting to low ceilings, select the wallpaper of light tone, with a small or pale pattern. For a high ceiling, the material is suitable brighter and darker.
- Determining the length of the canvas;
- Preparation of devices that will be needed when working;
- Cutting wallpaper on pieces;
- Applying adhesive composition on the work surface;
- Fastening wallpaper to the ceiling;
- Formation of seams between chopped wallpaper strips;
- Drying of the finished surface.


- When cutting, it is necessary to take into account the number and location of windows in the room. This is important because the strip is recommended towards the window, so they are less noticeable. In the case of several windows in the room, place the wallpaper at its length to reduce the number of cropping.
- Take into account the length of the roll. Correct the length of the strips correctly so that you do not have a lot of excess material.
- Always create a stock. Cut strips need more length. Their edges should go on the wall when attaching. The supply is 2-3 centimeters.


- Roll the strip in the form of a harmonica, not staining in the glue of its face.
- Digit the line on the ceiling, where the band will be located, by its width.
- It is necessary to glue the painting tape, which will be placed directly under the seam.
- Then apply the strip, following the intended line. We start working with the corner.
- Slide the air seams that were formed under the strip, making smooth movements. We use a plastic spatula for this.
- Then you can prepare and glue the next strip by similar technology.
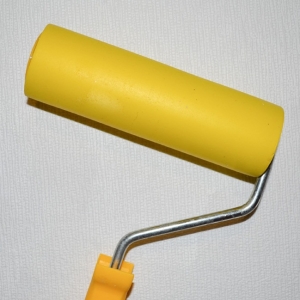
- After removing from under the second band of bubbles, shook the sutures with the hands so that the two bands in contact tightly, and ride using a rubber roller.

- If you glue the wallpaper with a pattern, it is important that the stripes docked correctly. In size, it is accepted to cut only the first part. Then the roll attach on the ceiling near the glued segment and cut it so that the image does not displaced.
- Pay attention to the cut off of excess. Do not use scissors or a sharp knife, as it may turn out an uneven edge. It is better to use a wide spatula, removing excess on its edge.

Remember that during operation you can not allow drafts, after completing, do not open the windows and the door for several days.