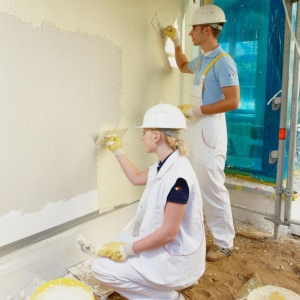
Alignment of walls with a putty is performed with minor defects, surfaces with differentials more than 20 mm is recommended to be pre-plastering.
To designate the volume of upcoming works, the number of materials and the necessary tools is performed by an inspection of the object. Using the level, twine or direct rail is determined how significant the irregularities of the walls. The device of the leveling layer with a thickness of more than 5 mm will require the use of aluminum rules of different lengths - depends on the size of the separated surface. Still need to work:- Kelma two-handed 500 mm, one-handed 280 mm - for base putty;
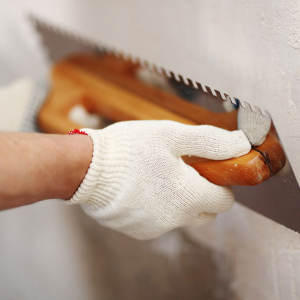
- Spatula with dimensions of 40-450 mm - for the finish layer;
- McList - for applying soil;
- Spatula angular;
- Tara and tools for mortar breeding.
After inspection of the wall, materials are selected:
- Coarse putty for starting base;
- Finish mix for final finish;
- Deep penetrating primer to strengthen surfaces.

- The protruding parts of the brick masonry are littered.
- An old stucco is removed where it "enclosed".
- Self-tapping screws are flooded on a plasterboard.
- Put notches on the surface.
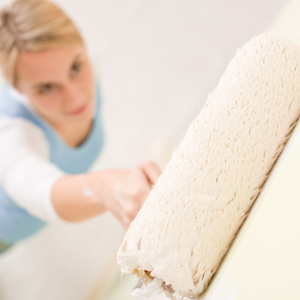
- The garbage creams and the primer is applied.
- Map-mesh is set.
- Install lighthousesIf the thickness of the solution is significant.
The wall is well impregnated with soil when the dust remains on her finger.

- The desired amount of dry mixture is poured into the bucket.
- Half the necessary water poured.
- The solution is stirred by a mixer to a homogeneous state.
- It is added some more water, mixed again.
- The mixture is withstanding 10 minutes, consistency is checked.
- Actions are repeated until the lumps are completely dissolved and obtaining a solution similar to sour cream.

- A solution is thrown into a large ironing with a spatula, keeping the cell horizontally, the mixture is settled on the wall.
- The next "Nakid" is performed with the overlapping of the previous one by 5-7 cm.
- After the closure of the 1x1 m square solution, the rule takes and stretch it to the applied putty.
- On the plots where the rule does not capture the solution, another layer of putty is added.
- Where the mixture is removed, the surface is considered to be aligned.
- Quality is controlled - the lumens between the applied rule and the wall should be less than 1-1.5 mm.
- When the layer serves, it is polished with a circular movement.
The smoothness of the wall is better to check the long rule, applying it in different directions: horizontally, vertically, diagonally.


Aligned with this way of wall after primer Ready for wallpaper stickers. Under the color, surface grinding is required to the perfectly smooth state of sandpaper with grain P120-150.