The process of manufacturing designs based on plasterboard is divided into sequential stages and does not require special skills. Consider the order of the structure of the shelves with their own hands and the features of working with this material.
Materials and tools
For the construction of the shelves will need:
- Plasterboard sheets;
- Galvanized profile;
- Dowel and selflessness;
- Primer;
- Reinforcing grid;
- Perforated corner;
- Putty.
Used tool:
- Screwdriver, drill;
- Plumb, level;
- Metal scissors;
- Hammer;
- Roulette;
- Hacksaw;
- Brush and spatula;
- Schurd essay;
- Knife.
Illuminated system, paint or wallpaper - all this is prepared depending on the intended design.

Preparatory stage
To count the number of necessary materials, the scheme of future shelves. First, there are possible configurations on the wall and choose the desired option. Determine the load that affects the framework of the framework. The placement on the shelves of heavy items will require an enhanced structure using metal corners, and the decorative destination will allow us to dispense with ordinary rack profiles. The deliberate structure is drawn on paper, perform and write dimensions. As a result, a drawing, mapping forms and location of all shelves, should be obtained.

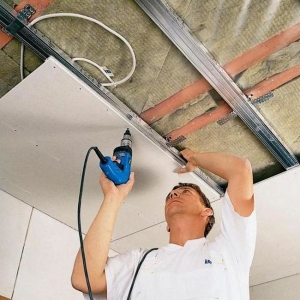
Mounting carcass
Creating a base for plasterboard sheets start with marking, which is transferred from the circuit on the wall using the level when applying vertical and horizontal lines. The holes scheduled for fasteners drill a drill and execute fixing profiles by means of nylon dowels. The first install the main guides to the floor and the ceiling, then mount the vertical and wall racks. The latter fix cross rails and reinforcing elements for which suspensions or profile trimming are used. The connection of the framework parts is performed by self-drawers or hollow rivets. This stage is completed by connecting the wiring if the shelves imply the placement of lighting or sockets.

Cracking frame plasterboard
From the frame, the sizes of the shelves are removed and plasterboard plasterboard on them. The focused details of the rectangular shape are cut off with a knife, the complex elements are cut off with hacksaw, the curly lines are pre-drilled by a drill. The edges of the billets are treated with a skirt and secure sheets on the profile frame of self-drawing, paying attention to the docking of the plasterboard in the corners. In places of the proposed heavy load, the material is installed in two layers.

Final stage of work
The joints between the drywall sheets and the recesses from the screws are sealed with a putty on the basis of gypsum with a mandatory sizing of the joints with a fiberglass ribbon. External angles are enhanced by a perforated corner. Platskarton shovel They are carried out for two starts: the dried first layer is slightly treated with large sandpaper, the finish coating is grinding in fine skin. At the end of the work, the design is covered with primer and switch to shelves finish.

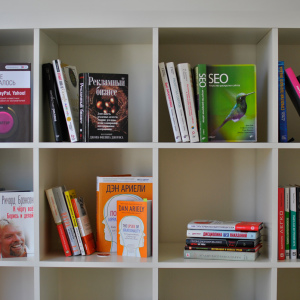
The use of drywall allows you to implement any interior ideas and create original shelves, niches or stands that refresh the home furnishings.