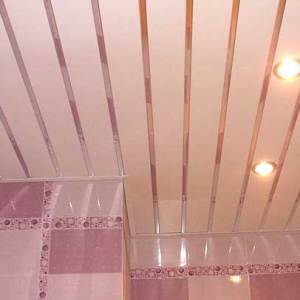
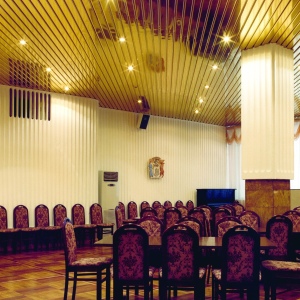
Hinged ceiling made of drywall not only allows you to create multi-level structures above your head. It perfectly hides all the irregularities (slopes, hillocks, chips, curvature) and the disadvantages of ceiling floors (divorces from flooding, spots of soot), with ease hides wiring connecting the lamps. Plasterboard is characterized by high sound insulation properties, which is distinguished from the tensioning canvases. And thanks to the special special structure of the material that allows you to cut the sheets with ordinary hacksaw, you can, without much effort to build a ceiling of any form.
1
Before starting work on the direct installation of the ceiling, determine the height of the room for each corner. If the ceiling height is the same on the perimeter of the room - you are lucky, if not - measure 6-7 centimeters from the ceiling in the lowest corner and mark on the wall. Using the level (the laser level will be much more convenient to water), mark this border around the perimeter. On the drawing of labels along all walls of the premises, quite a long time can be cut to cut it - use the painting cord.
2
Applying a metal profile on the marked level, insert through it in the wall of the holes to install the dowels. Fix the profile by self-draws.
3
Straighten the entire ceiling on the same squares. The side of each square should be 500-700 millimeters. In the corners of the resulting squares, fasten the suspension. For perfectly even fastening profiles, use the fishing line. Secure it at the level of the profiles already attached to the wall and stretch through the entire room. The profile for the suspension is attached by self-drawing. After fixing profiles on the square of the entire ceiling, regenerate the long ends of the suspension so that they do not interfere with you. Do not forget to cut the fishing line, which is used for billing level.
4
If the lengths of the profiles are not enough to overlap the entire ceiling - extend them using the connecting elements and screws. For the resulting grille, do not forget to throw the wiring for connecting the lamps. If you are not enough for wiring skills - invite a specialist. The costs of this service are not great, but qualitatively performed work will exclude the subsequent possibility of dismantling the ceiling to eliminate the electrical wiring faults.
5
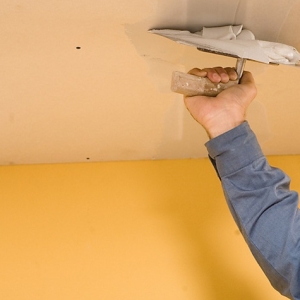
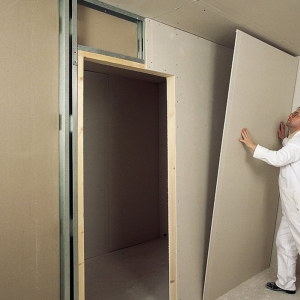
With the help of a screwdriver or a conventional screwdriver, attach sheet carp sheets to profiles and stiffeners. Since plasterboard sheets are large enough, it is advisable to perform this work together or threesome. In the absence of your ability to invite someone to help, cut the sheets into smaller pieces and fix them yourself. Do not attach sheets close to the wall, step up a few millimeters, it will allow the "breathe" plasterboard. Subsequent sheets are secure by the level of the previous one. For fastening the material, use special screws, 60-70 millimeters long. Hats of selflessness should not be dragged deep into the sheet, because the gypsum may not withstand the weight of the sheet and the probability of the ceiling collapse will appear.
6
Get all the seams with a gypsum putty. To close up such seams between the best way to put Knauf FugenFuller or the battle of SC-204FMG. In places setting a chandelier to do holes and release the outgoing wires.
7
Color the ceiling in the color you need, install all the lamps and chandeliers. If you want to - apply a decorative pattern on the ceiling, which will be able to give the line to the interior of the entire room.
Installation of the mounted ceiling is troublesome and time consuming. But despite all the difficulties, such a ceiling can be mounted independently without extent and attracting specialists. Created by their own hands the mounted ceiling will bring a special charm and comfort to any room of your home.
Share advice:"How to make a mounted ceiling of plasterboard"