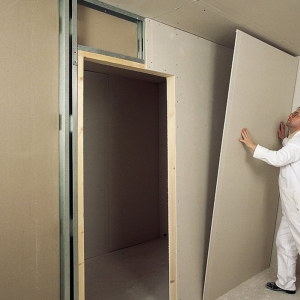
Proper profile mount guarantees the reliability of the plasterboard design. During work, you have to connect and lengthen the details, use various dowels and screws for mounting.
Fastening the profile frame on wooden bases is made by black or galvanized screws with a large thread rate. For installation on concrete, block and brick surfaces, there are various fasteners:- Dowel-nail with a mushroom-shaped hat - a rapid fastening of the frame on the wall, a dowel with a diameter of 6-10 mm and a length of 30 mm are applied;
- Nylon or polypropylene dowel - for any wall, used with screws with a diameter of 2-6 mm;
- Dowel Pouring ("Hedgehog") - horizontal, and with a length of more than 50 mm and vertical fixing in concrete;
- Anchor metal dowel - reliable mounting on the ceiling, the size is selected depending on the load;
- Dowel-hook - for fastening the wire suspension;
- Anchor-wedge ceiling - for vertical installation by a scored manner.
- Self-pressing type press washer ("bugs") with a drill or with a sharp tip;
- Rivets with preliminary drilling;
- With the help of a lecturer - a special tool that breaks through the profile walls and bending metal petals on the sides of the hole.
- The extension is performed by a direct connecting element in which two ends of the connected profiles are inserted and fixed by the "clouds";
- The cruciform connection is carried out by "crab": the ends of the four profiles are snapped in it, then the mustes are bent and screwed by self-pressing;
- Bonding without crabs: transverse profiles are cut through the collar, the side is rejected, then they are superimposed on the longitudinal guide and fixed;
- T-shaped compound is made by the same method or used cropped "crab";
- When dusting the rack and guide profile, the first is inserted into the last and tightened with a self-tapping screw.
- The profile is cut off by 1 cm shorter distances between the installed lower and upper guide and is connected between them;
- On the wall after 60 cm labels are made on each side of the profile, the billet is pulled out;
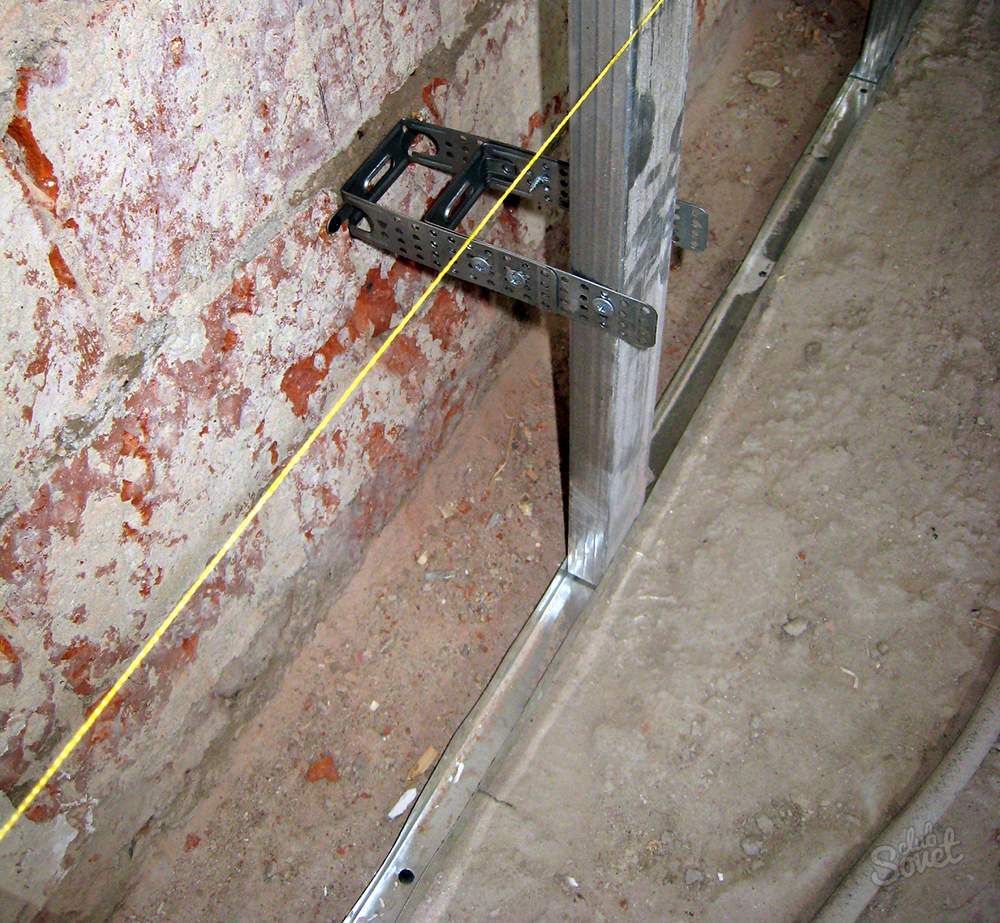
- The suspensions are taken across the lines, the holes are drilled and the nail dowels are installed;
- The billet is put in place, attached to the guide screws;
- The vertical profile is aligned with the cord and is screwed to the suspension;
- Starting parts of the plates bend inside.
Horizontal jumpers join the vertical guide one of the previously considered methods.
To the surface of the ceiling, the profile is mounted using suspensions encountered two types:- Direct suspensions are perforated plates flexible in the form of the letter "P", the profile is fixed by self-drawing with a press washer;
- Suspension with a burden - consist of a knitting needle, a sloped element and a curly plate, snap-in in the profile protrusions.
In the absence of factory suspensions, they are made independently of the remaining cropping. Profile pieces are cut off on the sides and bend at an angle of 90 °. The resulting fastener has high reliability, and it costs inexpensively.
After acquaintance with the advice of professionals, work will go easier, and most importantly - right. Starting with flat designs and gaining skills, gradually go to complex forms and become real masters.


