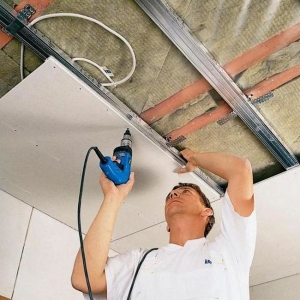
The semicircular arched doorway ennobles and helps create comfort in the apartment. In choosing the material for the manufacture of arches often prefer plasterboard.
Before starting work, create a sketch of the arch. This will help to calculate the amount of material. Form of the arch depends on the width and height of the door opening:- The classic version - Dome Arch. Such arch radius equal to half the width of the opening. Classical arches suitable for registration apertures height more than 2.2 m and a width of 100 cm.
- Asymmetric arches or poluarki look good in narrow doorways.
- Arch Art Nouveau - symmetrical arch with a radius exceeding the width of the opening half.
- Romantic style arches suitable for wide openings. In this case, the upper portion of the opening is straight, only the corners are closed
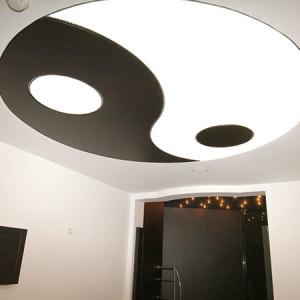
- Design or delicate arches do not have a strict form. Mounted at the device plasterboard partitions for separating space into zones.

For arch device plasterboard prepare tools:
- punch;
- screwdriver;
- level or plumb;
- roulette;
- construction knife with replaceable blades;
- twine or monofilament;
- pencil or marker;
- metal scissors;
- hacksaw or wood with fine teeth;
- needle roller;
- gloves.
Prosekatel for connecting profile planer for plasterboard, a laser level to help get the job done quickly and efficiently. Well, if you have such tools. But buy them for mounting one arch does not make sense.

For the device arches with the width of the doorway to 100 cm you will need:
- plasterboard 6.5 or 9 mm - 1 sheet;
- profile ceiling PN 28/27;
- profile guide PP - 60/27;
- self-tapping screw;
- dowel-nails;
- sealing tape;
- cable for mounting wiring and installing point lamps;
- for further finishes, the finished design requires primer, putty, perforated corners, srupyanka, grinding grid.

- preparation of the opening of the arch;
- creating a sketch of arches and cutting plasterboard;
- installation of frame arch;
- installation of the cable if the installation of point lamps is planned;
- fastening of plasterboard;
- installation of arched protective corners and plasterboard shtlock;
- final finishing, installation of lamps.


- With the help of dowels, lock the ceiling profile on the ends.
- To ensure noise insulation, before the start of installation on the profile, the DichunSbad sealing tape is glued.
- Next, install a short rack profile in the center of the arch. The rack profile is attached to the guide with small tapes or a bug.
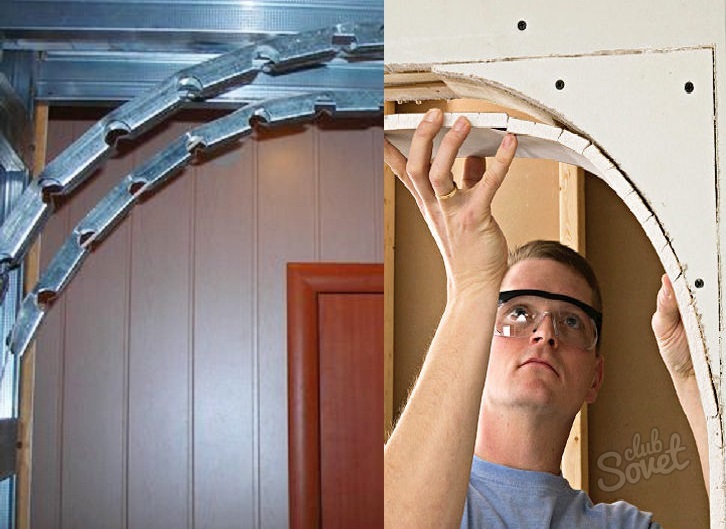
- Secure arcs for arches from a bent arched profile (marking PN 27/28).
- Secure the design with a racking profile and suspension.

- Cut the frame on both sides of the cooked sheets.
- Cut the lane of plasterboard in the width of the arch. In length, it can also be more arc by 15-20 cm.
- Ride the strip needle roller.
- Moisten water with a brush, give water to absorb.
- The wet bar of plasterboard has sufficient flexibility, which makes it possible to fix it in an arc.
- After stripping the edges of the sheet, the plane can begin to decorate the arch.

The use of plasterboard for the manufacture of the arches allows you to select various finishing options. This is staining, watering or applying decorative plaster. Before applying the finish coating the arch should fully stuck. To form clear straight corners, use a perforated protective profile. The correct installation of the Arch and its further finish will help to transform your apartment for many years.