Attention! This article may cause you to hobby with graphic editors, it leads to the knowledge of the secrets of photoshop, memorizing hot keys and wakes up the spirit of enthusiasm in people. Read strictly if necessary and follow your indicators.
How to remove the background in Photoshop - Magic Wand
This is the so called the tool that you will start Cut Object. To do this, you need to open the desired image in Photoshop and find it on the toolbar. For users with an English-speaking interface, it will be recorded as Magic Wand Tool.

- hold down the SHIFT key and press the magic wand on the background until it stands out. Remember: SHIFT cannot be released until you select the entire background, you can also not fall as a stick to the object. Only background!
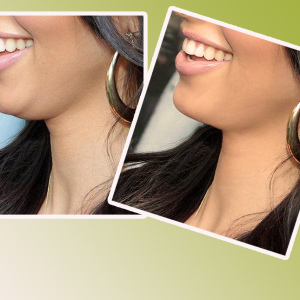
This is how the selection process looks like:

- when you pressed on all the not dedicated point dotted and your background is finally ready for further work, find the Delete key on your keyboard and click on it,
- be sure to check the settings in the window that appears, everything must match the screenshot below,

- in order in Russian: the first field contains the word "white", then "ordinary", and "100%".
- do click on the word ok
- you will get a carved object on a white background, but something can remain garbage from the selection,

- to remove it, press the E-key E, it will call an eraser,
- gently erase the extra details,
- the object is cut.
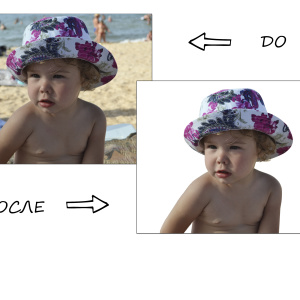
This method is great for monophonic backgrounds and clear objects. But if the background is blurred or highly detailed, a variant with a magic wand may not work. Let's try to disassemble the second way.

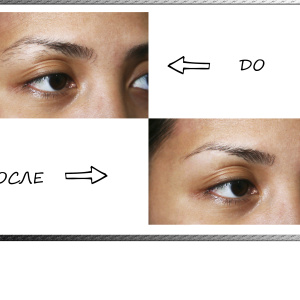
How to remove the background in Photoshop - the selection of a layer mask
We'll have to work a little more, but the result will be much better.
- open the desired image and immediately copy the layer, for this, right-click on the thumbnail of the image on the right below and select the "Copy layer" or "Duplicate Layer" field,

- now create a mask on a copied layer: Find the desired icon on the right and press,
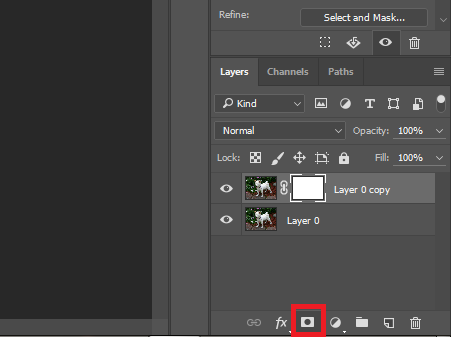
- near the layer miniatures, a small white window will appear, as in the screenshot,
- now take the "Brush" tool by clicking on the Latin letter B,
- the settings of your brush should be like a screenshot below,

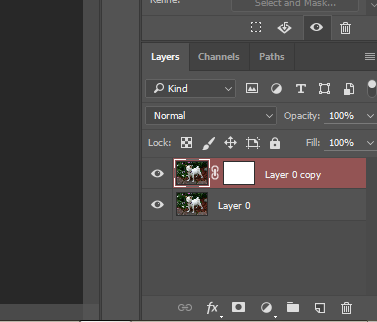
- choose a black brush color and press the Q key, now the layer thumbnail is highlighted in red. This means that you are on the right track.
- carefully draw the object without going beyond the frame and not falling on the background,
- if you still hit the brush on the background - change the color of the brush on white and fill your slip. Remember: Black Draw, White Ice,
- slide the whole object.

- now press the Q key again, and then delete,
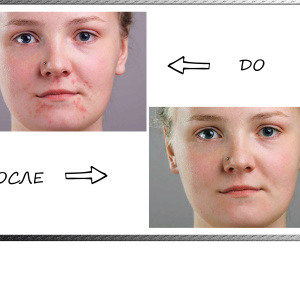
- the background is deleted, you can transfer the object to a new place or pour it with white.

Both options will seem very easily after you try to make them yourself. The main thing, do not be afraid to be mistaken, because it is always possible to cancel the last action using the Ctrl + Z + Alt key combination. And to consolidate knowledge, see the video below.