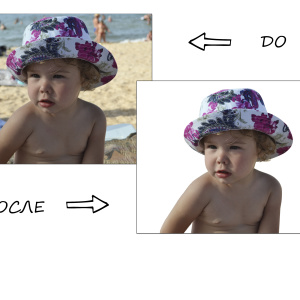
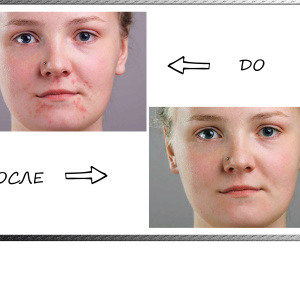
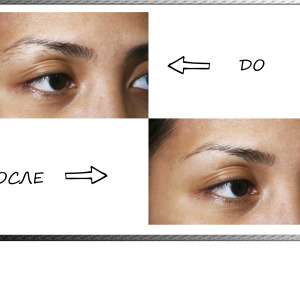
Experienced photoshops can replace the background in photos in a matter of minutes, and in various ways. In this lesson, we will look at one of them - more or less understandable even for novice users of the most powerful Adobe Photoshop CS6 graphics editor.
1
Open the selected photo in the program using the file command → "Open ..." or a combination on the keyboard "Ctrl" + "O". At this stage, difficulties should not arise, but if you doubt the correctness of your actions, read the instructions "How to add a photo to photoshop".
2
For convenience, close the image by the slider on the "Navigator" palette, which call on the main workspace through the "Window" menu → "Navigator".
3
Activate the "Fast Allocation" tool on the toolbar. Specify it the desired size through the parameters panel or change the size of the tool figure brackets on the keyboard (). Slowly clicking on the silhouette of the girl, start the selection from above and gradually move down until the entire object is highlighted. If necessary, cancel the selection steps: "Ctrl" + "Z".
4
If it is impossible to single out the silhouette (the dotted line drove the edges or did not reach it), use the parameters with the "-" and "+" icons on the parameter panel. Switch the icons and experiment with the selection line.
5
After the object is fully allocated, refer to the "clarify the edge of the selected area" tool.
6
In the window that opens, the "clarify the edge" window is sliders, evaluating changes. Be sure to check the box in front of the "Smart Radius" item, and in the "Output" section, activate the "output to the new layer".
7
When you click "OK", a new layer will appear on the layer palette, and the background will turn off. Turn the eye opposite the background layer and see it again - this is for information.
8
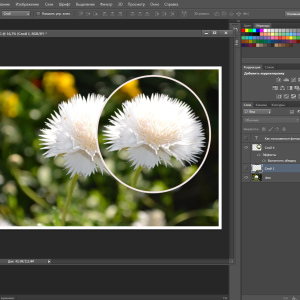
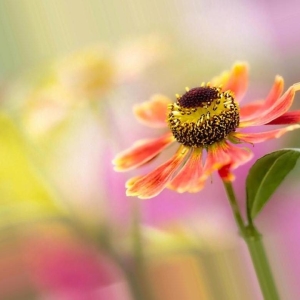
Next, open the image you want to set as a background image, for example, a photograph of the forest. Fully select it through the "Select" → "All" menu - a dotted line will appear around the picture. Next, copy this layer using "Ctrl" + "C".
9
Insert it into a document with a silhouette - move the mouse to the previous image and click "Ctrl" + "C". The layer with the forest will appear in the palette of the layers on top of all the others. Change places the active layer with a girl and a layer with nature - grab the mouse behind the "Copy background" layer and raise it up either shift down the "layer 1".
10
Save the resulting collage in the "JPEG" format via the "File" menu → "Save as ..."
If you are inadvertently delete or move the palette or panel program in the working window, restart photoshop when holding hot keys Ctrl »+" Alt "+" SHIFT "- the initial settings of the program will be returned to your place.
Share advice:"How to replace the background in photoshop"
Thank you, I have a question. It does not work, all the time is transferred the background instead of the model. How exactly to make the model transferred to a new layer, not the background?
Item 9: / Insert it into a document with a silhouette - move the mouse to the previous image and click "Ctrl" + "C" ./ Since when did the operation "Ctrl" + "C" mean "insert"? Personally, I don't have anything with the background for this instruction.


Thank you, I have a question. It does not work, all the time is transferred the background instead of the model. How exactly to make the model transferred to a new layer, not the background?
Great lesson! Thank you, 5 minutes and everything is ready
Item 9: / Insert it into a document with a silhouette - move the mouse to the previous image and click "Ctrl" + "C" ./
Since when did the operation "Ctrl" + "C" mean "insert"? Personally, I don't have anything with the background for this instruction.