To date, Adobe Photoshop CS6 is a powerful tool for working with raster images. To learn how to use this multifunction graphic editor from Adobe Systems, one desire is not enough. Big Friends and Assistants Photoshop are prerequisitive, patient, attentiveness and sense of measure. If you have exactly such qualities, then proceed to the study.
1
Install photoshop to your PC, but if you find it difficult to use our instruction Installation. Run the program to work, previously removing the "Adobe Photoshop configuration file", holding the "SHIFT" + "Ctrl" key combination - this will help correctly display the main workspace, familiar to most users.
2
Next, open the main settings dialog box through the main menu and commands: "Editing" → "Settings" → "Basic", or using the keyboard combination "Ctrl" + "K".
3
Check out the program interface and to start, for example, change the color of the main window. You can also make minor changes on the "Performance" tab to exclude hanging while working with the application, add another work disk, if there is such a PC, and do not forget to save everything.
4
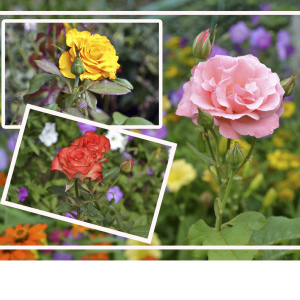
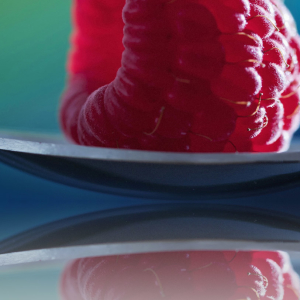
The basic settings are predetermined, now select any digital photograph on the computer and open it using the file command → "Open ...". Pay attention to the most upper desktop strip - this is the menu line and it is it that contains a complete list of all existing commands. If possible, study them all, but do not be particularly hurry, and remember what the one or another command leads to, or write down for clarity.
5
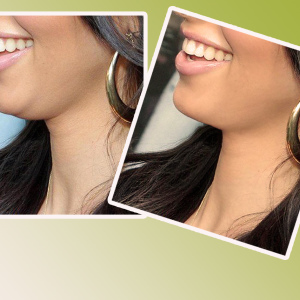
The elongated vertical rectangle on the left side of the program with different symbols is the toolbar. In order to start editing the selected photo, activate one of the tools - click the icon with the mouse. For example, choose the frame tool "Frame", pull the edges and cut the image at your discretion.
6
Alternately examine each tool individually by selecting and use directly in the document window. Keep in mind that Photoshop writes all the operations that happened, and if you need to cancel the action performed - use the "Ctrl" key combination with the "CTRL" key or the Edit Team → "Cancel".
7
Just below the main menu there is a "parameter panel", with which various values \u200b\u200bfor tools are specified. Take, for example, the "Eraser" tool and experiment with its parameters.
8
Next, translate your attention to the right side of the working window - there are palettes. To call any of the existing ones, it is enough to bring to the icon or name, or open the desired palette through the Window menu. Suppose to increase small parts at the object, you will need to contact the "Navigator" palette - call it through the main menu using the "Window" command → "Navigator" or click on the corresponding icon in the basic work environment Photoshop.
9
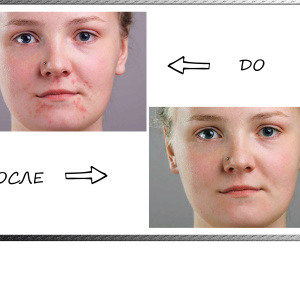
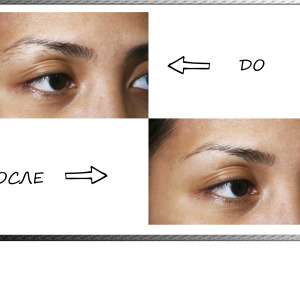
The most popular palette in Photoshop is the palette of the layers, and no editing step is practically nothing. Suppose, changing the brightness of the photo by means of the "Correction" palette in the layers palette, a new layer is automatically added. Try a little brightening the image - you will see the result.
10
To save the result, use the file command → "Save As ...". By default, Adobe Photoshop offers to save the image in the storage format of graphic information - "PSD". By going around this, from the drop-down list, select "JPEG" format and click OK.
We hope that our small excursion to the world of photoshop will inspire novice users to in-depth study editor.