Sooner or later, any motorist with musical taste ceases to satisfy the quality of the sound of his regular audio system. And the search for the possibility of its improvement begins. One of the steps in the Upgrade system is to install an external amplifier. If there is even the initial skills of working with a screwdriver and a multimeter to make it yourself quite simple.
1
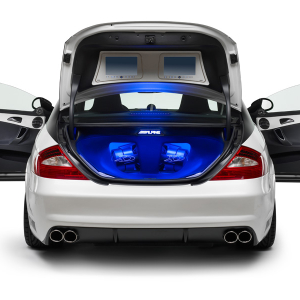
Select a place for the amplifier. Any suitable, no busy area in the car. You should only remember that in the process of operation, the amplifier is heated and fans are used to cool it. The amplifier must be installed where the fan will not interfere with sucking air for cooling. After selecting the installation location, I mount the amplifier using complete fasteners.
2
A power cable will be required to connect the amplifier to the car battery. Due to the fact that the power consumption of the amplifier is high enough, the cable must have a corresponding section. The network is enough tables that make it possible to make the right choice. For example, with a current consumption of the amplifier twenty amps, a cable is needed by a cross section of at least four square millimeters. The selected wire gently depuse from the plus terminal of the battery to the point of installation of the amplifier and connect to the positive power terminal of the amplifier. The minus terminal of the amplifier is connected to the nearest point of the "Earth" of the car.
3
Do not forget, in mandatory, install a fuse in the supply circuit. It is selected at maximum current consumed by the amplifier. Current values \u200b\u200bshould be taken from the technical documentation attached to your amplifier. The correctness of the fuse in the rotor space is correct, as close as possible to the plus terminal of the battery. The fuse is desirable to put in a plastic flask to protect against external influences and high temperatures under the hood.
4
We feed a linear audio signal from the car head to the amplifier inputs. It should be remembered that outputs and inputs are marked as follows - FL (front left), FR (front right), RL (rear left), RR (rear right). The output and login channels must be included respectively marking. The switching will require an inter-block cable of the corresponding length with RCA connectors. Gently lay it on the most convenient route and connect from two sides to the car head and the installed amplifier.
5
The final stage is the connection of acoustic systems. The marking of acoustic wires coincides with the labeling of linear inputs / outputs. Accordingly, connect the left front speaker to the left front output of the amplifier. Also act with all other speakers.
Well, that's all. We connect the battery, turn on the radio and enjoy a completely different sound, compared to what it was. Good luck on the roads!
Share advice:"How to connect an amplifier in the car"