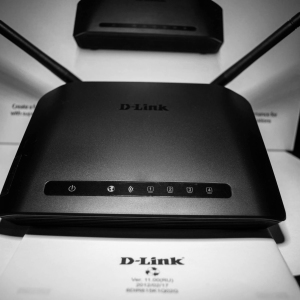
There is practically no difference between the device which model you bought. If the modem is designed to work with the Provider Rostelecom, it will be easy to install and configure it, following the manipulations described below.
Connecting Rostelecom Roter to a computer
Before proceeding with the modem setting, it is necessary to check the correctness of its connection (otherwise further actions will not bring the result).
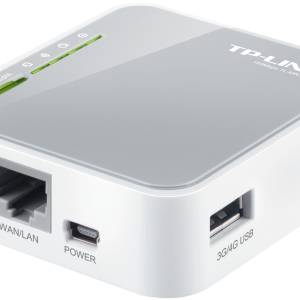
- We connect the patch cord from the kit with the network card connector and any yellow lan port of the router.
- We connect the telephone cord to the port of the modem indicated by gray.
- Serve power and click the “Power” button - indicators light up.
- On the computer, select the connection to our network card and enter the “Properties”.
- In the first tab, select the TCP \\ IPV4 item and the button under the list open its properties.
- We move the marks opposite the choice of “receive IP \\ DNS automatically”.
- We save the changes with the “OK” button, reboot the computer.

Rotelcom Roter Settings
A disk with the necessary software is attached to a set of equipment for connecting to the Internet. If it is lost or absent for other reasons, you can download the application from the operator’s website. Further:
- launch the file of the master Setup.exe and follow the indications on the screen;
- if the initial setting is needed and no manipulations were previously carried out with the modem - we select the item “Complete setting up of a universal router”;
- select the type of network organization - router (default);
- we open any browser and cross at the address 192.168.1.1;
- we write the login and password Admin \\ Admin;
- we proceed to the “Additional Settings” tab -›“ Interface of the 2nd level ”;
- we delete all interfaces if they are there;
- click the “Add” button to enter your settings;
- we enter the values \u200b\u200bindicated in the screenshot: VPI - 0; VCI -35; DSL LATENCY - PATH 0; Type DSL Link - EOA; connection mode - by default; The algorithm of the queue processor is a priority;
- click on the “Apply \\ Save” button;
- for certain regions, the interface settings may differ - this is described in the contract, along with the values \u200b\u200bthat will need to be entered;
- we go to the “Wan Service” tab;
- click “Add”;
- we enter the values: interface “atm0”; type of WAN-service-pppoe; The name and password of the subscriber - according to the contract; jackdaws opposite “Repeat PPP ...” and “Turn on IGMP ...”
- Click “Next” and “Apply/Save”.

Problems with Rostelecom Roter Setting
If you bought a modem in the official office of Rostelecom, a guarantee is attached to it, according to which it can be exchanged or repaired. Before performing these actions, try to drop the device to factory settings (for example, if you can’t open a web interface). Find the corresponding button on the router’s case and hold it with pressed for about 10 seconds when the power is turned on. If any indicator does not light up, check the correctness of the connection, according to the first point of the article.

When the settings are introduced correctly, a green indicator, indicating the current connection to the Internet, will light up in a minute. For the Connect to a wireless network and viewing digital television, you will need to add additional interfaces that require a separate discussion.