The distribution of the Internet via Wi-Fi has become very simple with the advent of the compact device - the Yota router. Device will provide a user with communication anywhere where it is necessary. When you first connect, only an open network is created, using simple actions you can add a second password-protected.
1
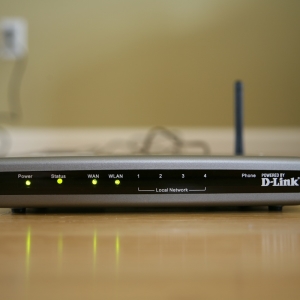
Mobile router Yota (router) has small dimensions comparable to smartphone sizes. In the upper end it is the switches. One of the controls allows you to enable / disable the device. It is a three-position, therefore, it organizes communication over a protected line and on the open, depending on the position of the switch. When you first turn on the default, an unprotected network is distributed.
Two communication lines (open and closed) - a very convenient solution for the user. The main line is protected by a password. She enjoys the owner of the device. The second - the dubbed connection will be needed when you need to share the Internet with other people, and I don't want to report the password. Simple switching of the host translates its device into an open communication mode. Protected mode is also saved. At the display, an image of a smiling emoticon can be seen.
3
In the bottom end of the Yota router is a plug hiding a USB connector. Open it, plug the gadget to the computer or laptop. Charging the device takes about 2 hours. After installing the drivers, it is ready for work. Translate the switch on the router to the leftmost position. Open the browser, enter the domain name "Status.yota.ru" in the address bar, click "ENTER". The Yota settings window has the factory settings panel. Use it if you need to roll back the settings to the installed manufacturer. For example, when the password is lost.
4
Depending on the router model, it can be installed a password to enter the network. After recharging the router, wait some time until Yota finds the network and connects to it. Then open the list of wireless networks. The "Yota" network will appear in the list. If the Wi-Fi network is password protected, it will be listed on the back of the router. Open the browser, enter the IP address 10.0.0.1 in the address bar or the domain name "Status.yota.ru". A window will open, enter in it in the corresponding fields the "Login / password" pair - "admin / admin".
5
To set / change the password, click the "Device Settings" key at the top of the window. The following panel will open, allowing you to change some parameters of the Yota router. To adjust the protected Wi-Fi line, specify the network name (arbitrarily), by default - "Yota". The type of protection may be "open" - uniform and protected - "WPA2" (reliable option). In the next input field, specify the connections password itself. When you set, use from 8 characters (preferably not 123 ...). Save the changes. Primary setup is completed.
6
The address of the web interface pages of the router can be changed and inaccessible. Just in case, we give a list of addresses of the Yota control page by default:
http://status.yota.ru or http://10.0.0.1;
http://192.168.0.0;
http://172.16.0.0.
Open the router settings Web interface one of the following addresses. As described above, make network security settings - put a password on Yota.
All changes in the Yota router settings, including a password task on Wi-Fi, can be performed after the device is charged, the SIM card is inserted into it and activated. You can learn more of the articles on the configuration and activation of Yota. How to set up Yota.», « How to activate Yota.».


Thank you, helped