The Yota modem will provide an Internet access on the LTE network to which it is connected. The Yota router can distribute the Internet on Wi-Fi. It is only necessary to correctly perform the settings in a certain way. The created network will combine up to 8 different devices (inclusive).
1
Before setting up Yota, you have already completed the first steps: Acquisition, Connection, Activation. You can order a modem on the site www.yota.ru.. Make the connection is not difficult, and activation occurs automatically when the card is inserted into the device or the modem is attached to the computer via the USB port. With the peculiarities of these processes can be found on the site in the articles " How to connect Yota." and " How to activate Yota." Some difficulties Users meet only when setting up the access point.
2
Allow the problem with the settings of the APN Internet.Yota in manual mode is independently easy. In the Android OS, after activating Yota, go to the "Settings" section, open the "More" item, in this scan, press Mobile Network, open the "Access Points". Select "Create / Edit Access Point". Set the name of the access point - "Yota", in the APN input row, type "Internet.yota". All other fields are not required. The point is created.
3
For your phone with Windows Phone, you create an access point in the following algorithm: "Settings" - "Access Points", press the "+" symbol, which means creating a new point. In the APN entry row, as in the previous version, type "Internet.yota" and save the input to the "Save" command. After saving the access point, click on it, expect the inscription "active".
4
If the iOS operating system is installed on the smartphone, then in the "Settings" section, go to the "Cellular Communication" section, then "Cell data". Lay the APN entry field, write "Internet.yota". A new access point is ready, no more action is required. Test the speed of the network on the site speedtest.net. For any device with Yota.
5
When you connect Yota Many to a computer or laptop it will work as a modem. Installing drivers is executed from the installation disk from the resulting kit. The Yota modem is compatible with almost all known operating systems: Windows, Mac OS X, Linux. In further, access to the Internet is immediately when the device is turned on. System settings can be received by default or change manually.
6
The built-in Yota interface allows you to perform a number of settings. Attach the Yota device to the USB connector, open the browser, type "Status.yota.ru", "Enter" in the address bar. In the settings panel you will see the parameters available to the user to change. The first panel contains only information information.
7
Second and third - system panels. They will make a rollback to the factory settings (if you have forgotten the password on Wi-Fi) and download from the official site application for the device settings, control them, log in to your profile on the Yota website, reflects the signal level (download optional).
8
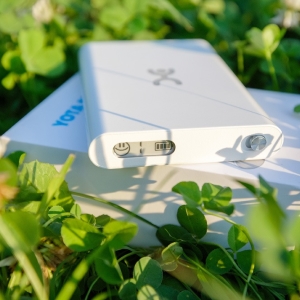
At the top of the "Status.yota.ru" window, find "Device Settings". It will open access to the Yota device settings interface. First of all, it will be prompted to specify the name of the access point, the type of protection (specify WPA2), password. The next item is most useful - it will allow you to set the mode of operation using the slider, select the number of connections to the "Pastened" and an open network. The number of subscribers in one of them is not more than 7. You can still turn off / enable the backlight of the Yota logo, configure the ability to connect to VPN networks.
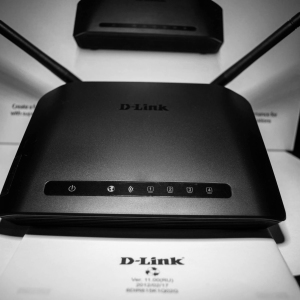
When creating a network, you do not need a modem via Wi-Fi, but the Yota 4G router. Setting up router performed by a specialist, because How it may be necessary to firmware compatible with your device, task options. Please note that not each router works with Yota.