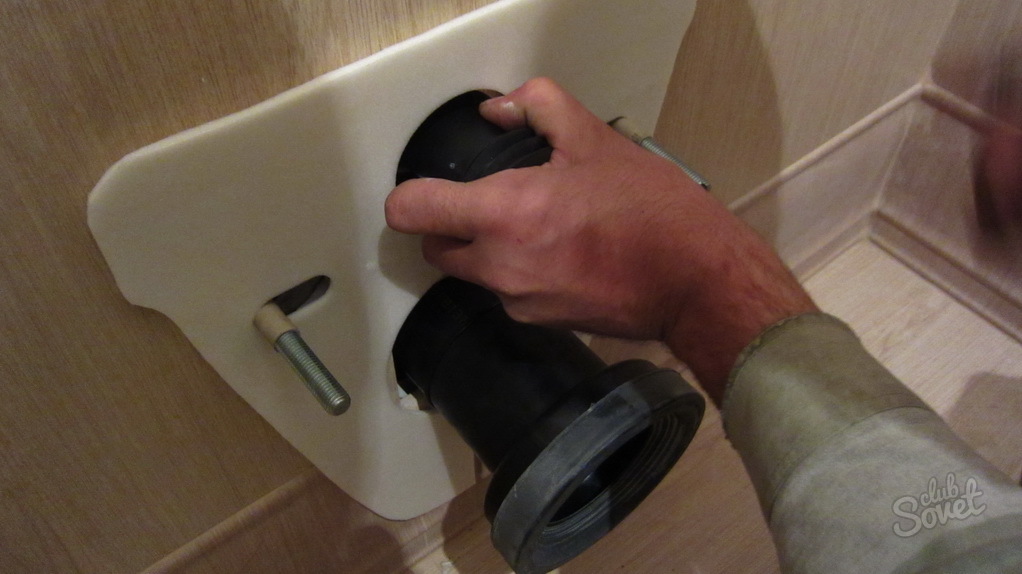
Pendant toilet has a whole number of all benefits known. The essential disadvantage of this plumbing device is the need for acquiring additional equipment, as well as the cost of its installation. Significant cost savings can give independent mounting of the suspension toilet. In the process of operation, several consecutive steps are allocated.
Install the suspension toilet easier on the site of the old plumbing, where the necessary communications are already connected. If there is a desire to drastically change the decoration of the toilet room, you will have to take into account the laying of new water pipes and sewer pipes. In any case, the main criterion will be the presence of a strong wall capable of withstanding a considerable weight of the design. After selecting the location, the framework of the frame is proceeded, which is a welded steel frame with movable fixing elements. Installation is made using anchor bolts to the floor and wall. At this stage, attention is paid to the correct alignment of the frame in all planes, which is performed by adjusting rods and studs, and is controlled by the construction level. All desired installation dimensions are taken from the instructions for the toilet.Having studied the installation principle of the toilet type toilet type and complying with the correct installation, each craftsman is able to perform this work on its own, and the assistants will be these tips and video:


