Installation of door platforms is carried out taking into account the material of their manufacture and configuration of products.
Minimum tool kit:- Roulette, ruler, square;
- Hacksaw with small teeth;
- Level;
- Hammer;
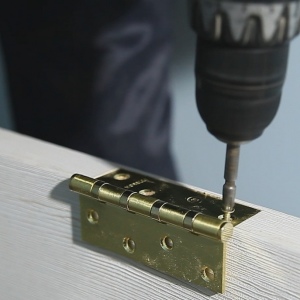
- Drill;
- Kerner.
The work uses fasteners: thin nails-studs with a length of 40-60 mm (you can cut off the hats in ordinary) or "liquid nails".

- The bar is applied in place, there is one internal angle;
- The label is carried out perpendicular using a constructional kit;
- At a distance equal to the width of the platband, the parallel line is delineated;
- In the resulting square, a diagonal is carried out directed from the doorway.
The billet is neatly cut off with hacksaw, the second angle is noted, and the process is repeated.

- Wooden elements are installed on 2-3 nails without caps, slightly overlapping them with kerner in the plane;
- MDF-platbands - holes with a diameter of 1.5 mm are preliminarily drilled;
- Plastic strips are fixed on "Liquid nails".
It is possible to glue a wood-based cladding, but it creates problems when dismantling and requires perfectly smooth surfaces.

- The length of the vertical slats may vary;
- It is possible that you will have to customize the bumping angle.
Sliced \u200b\u200bparts are fixed by level of nails in a step of about 50 cm.


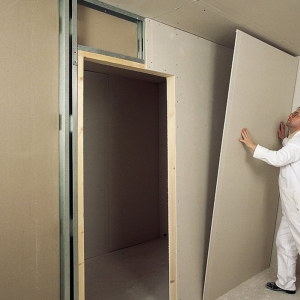
The framing of the opening is performed after the completion of the walls, but before installation of plinth. First, the slats are installed from the side where the door canvas opens, leaving an indent for the correct operation of the loops.