If you want to add a really beautiful text to the picture or photo, it is best to download and install the Adobe Photoshop program to your computer. In it, you can not only choose the original font, but also pick it up, size, bending and framing. The study of the entire program is quite a long and interesting process. This article will show the basics of text overlay to the picture, as it will be too difficult to list all the possibilities of photoshop. Take a note this way and try to execute it, following the instructions below.
1
Open Photoshop on your computer.
To open your photo or picture, click "Open".
To create a white background and just take off in creating text, click "New".
In this article, consider an example of text overlaying.
2
Select a photo or another image from your computer directory. Click "Open".
3
Wait until the picture opens in the program. If the performance of your computer or laptop is low, it will take some time.
4
Select the Text tool in the left toolbar or simply click on the English letter T on the keyboard.
5
Now select the color of the text at the bottom of the panel. In the future, it can be changed. If you are not satisfied with white or black color, then click on any of two squares, the palette will open in which you can choose any other color.
6
Mouse over the place where future text should be placed. Click the left mouse button on the screen.
Enter the entire inscription.
7
Now highlight the text with the mouse, just pulling it.
8
Pay attention to the right lower corner of the program. Here all layers and masks of your project are placed. The text is always in a separate layer, which you can safely delete if you did not like the inscription.
Click twice in a layer with text.
9
The text effects and style styles window will open. Here you can create such effects like metal shine, gradients, stroke around the text. Since in this case you need white text, but the background of the image is also light, you will have to make a small black stroke. To do this, you first need to activate the "Contour" item, and then "Stroke".
Try to find the effects that you need. Just click on all items and twist the slider. If you want to cancel the last action, press Ctrl + Z or Ctrl + Z + Alt.
10
The text can be bent or give it a colors. Click on it right-click and in the drop-down list, select "WARP TEXT".
11
In the very first line there are all templates. Try to apply them all and see what you like.
12
Now look at the top panel. In the left part there is a choice of font. It is worth noting that Cyrillic fonts in the PhotoShop program is actually small. If you need to write text in Russian, it is better to download good fonts on third-party sites and install them in Photoshop.
13
Next is the choice of font size. You can choose the size from the list or enter it manually.
14
You can add many more inscriptions, and they will all be located on new layers.
If you want to move the text from one place to another, then just select a layer with that inscription and drag it with the mouse.
15
Add items to your taste and save the image through the "File" item in the upper left corner of the program. Select JPEG format to save the image quickly or PNG to save the maximum quality and details.
So easy you can add the inscriptions in the photoshop program, changing and decorating them under your needs.
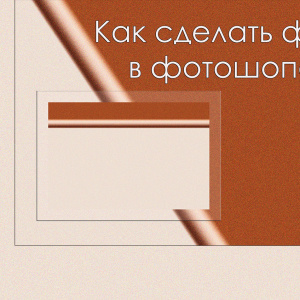
Share advice:"How to make an inscription in Photoshop"