The big advantage of a private manor is the ability to increase the area and expand the space, which cannot be done in high-altitude houses. The minimum set of tools, minor attachments, an increase in the desire to create an additional area with your own hands, and as a result, a decent quality accommodation for a comfortable stay of a large family.
At the first stage, be sure to make a construction plan, consider the nuances, make up the estimate and buy construction materials, or the main part in the first stages. Immediately prepare a place to store building materials. So, in obligatory, you will need the following elements: project of construction, crushed stone, sand, explorer, cement, brick or foam blocks, solution for cooking or concrete mixer, spatula, shovel, fittings, jumpers for openings, roof beams, roofing and finishing material.
The solution for the foundation also needs to be thought out based on climatic conditions and the intended load. Take cement with marking not below M400. On 1 part of the cement - 1,2 pieces of sand and 2.7 parts of rubble. The amount of water for the solution is ½ parts of the amount of cement. After filling the foundation, do not forget during the first 6-8 hours after the end of the process, it is abundantly moistened to the foundation with water and repeat the regular wetting of the foundation for 4-5 days, in order to avoid splits, cracks, uneven frost.
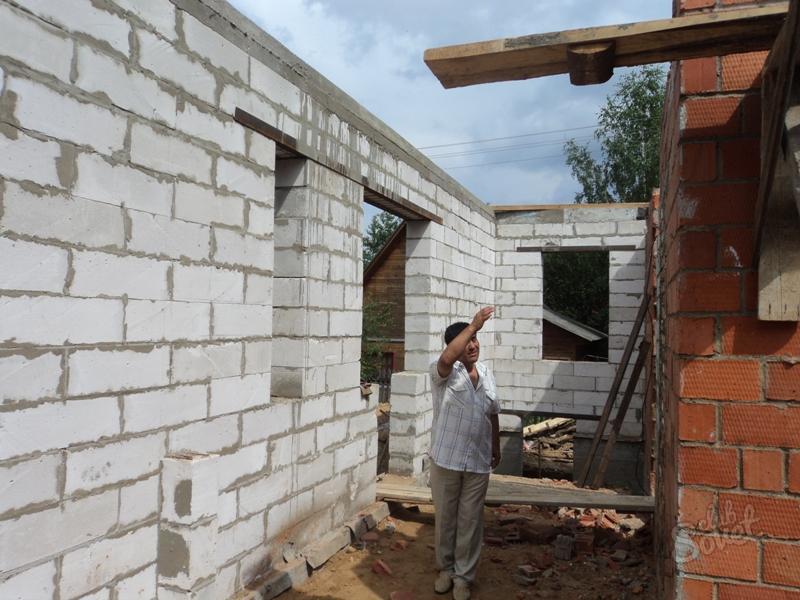
The bunch of an extension with the main building must be carried out with a hard compound, preventing an uneven shrinkage and, as a result, split along the seam. Do not forget to mount the strengthening fittings into the walls and put jumpers on the outs.

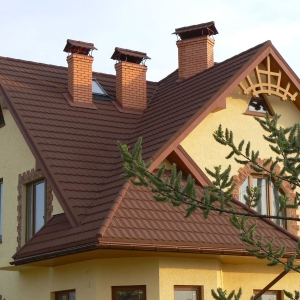
On the site of the roof joints, adjust the transition from galvanized iron corner. One part of such angle is suspending centimeters by 30-40 under the roof of the main structure and leave the same on the roof of the new room. The resulting space between the roof and the edge of the metal corner thoroughly seal.


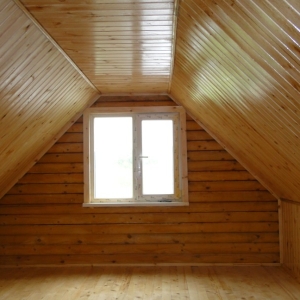
Internal design and decor already depends on your preferences and material opportunities. First of all, use all the free funds to build the foundation, and in the unreasonable time you can safely engage in internal works and finishes.