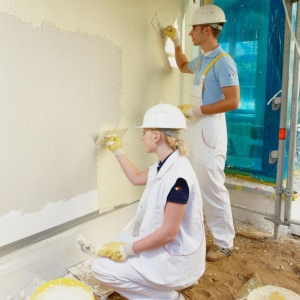
Of course, you can hire workers so that they put a putty. But some people simply do not want to spend money, others - wish to make a putty on their own, for the sake of interest. No matter how it was not, this article will help you independently apply a putty at home. This process will not be a lot of work.
How to keep a spatula?
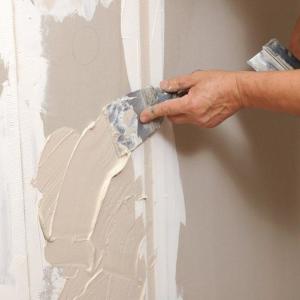
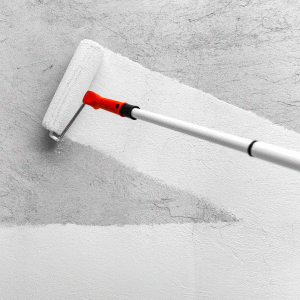
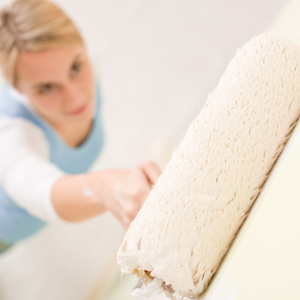
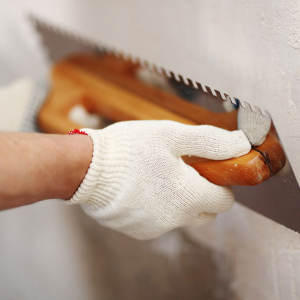
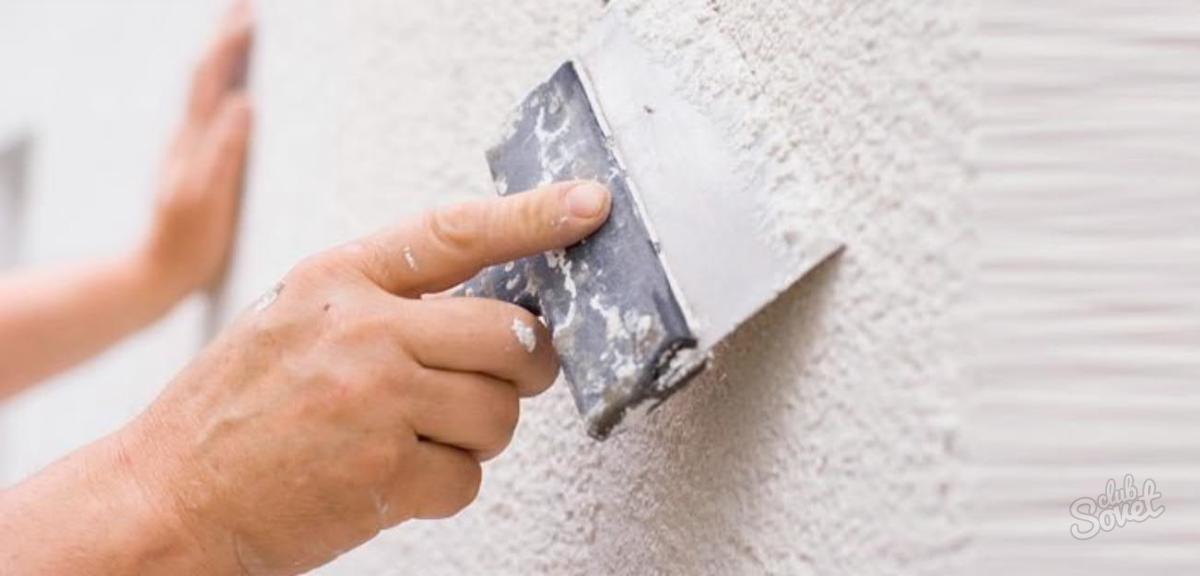
To work correctly and be pleased to learn how to use the tools correctly. As a tool for putty, a spatula (big and small).
- The gripper handle must be embraced so that the thumb is on the one hand, a little finger and non-name - with the second, and the middle and index directly on the spitel itself.
- Any spatula when buying will be curved in one of the sides. We need to put on the side that resells to the wall.
- If you put off the reverse side, the tool will leave the white strips from the solution. This must be avoided, as the quality of work and the visual component deteriorate. In case of existence, such strips will have to grind the wall.
How to put a putty?
For putty, the following is necessary:
- Large spatula.
- Little spatula.
- Solution.
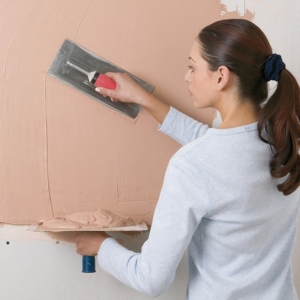
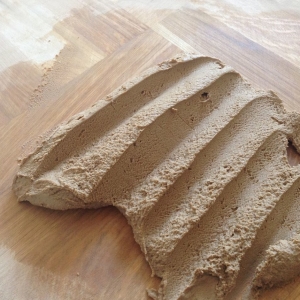
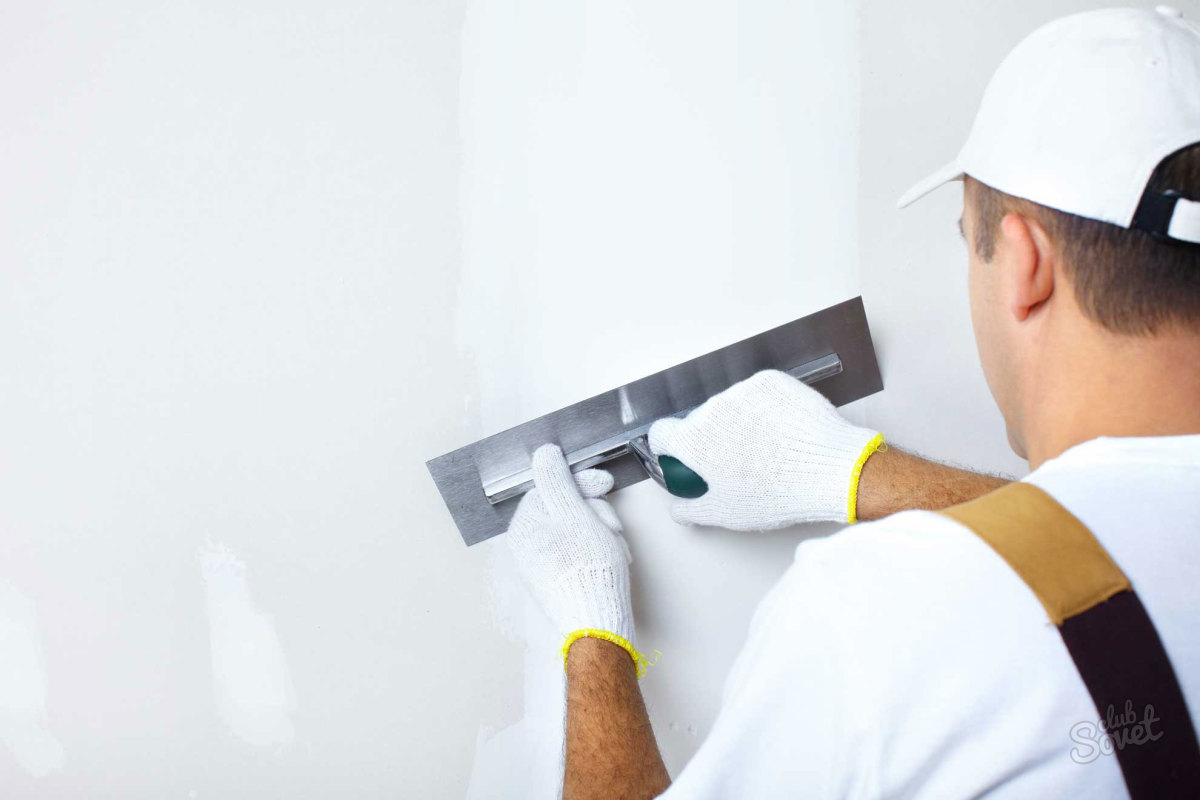
One spatula is more and wider, the other is smaller. With the help of a small spatula, you need to apply a solution on a large one. We recruit the solution to a small spatula and distributing it with uniform movements along the entire length of the large spatula. This is the most important movement in this process. If you do not learn how to do it correctly, you will not learn to put it right.
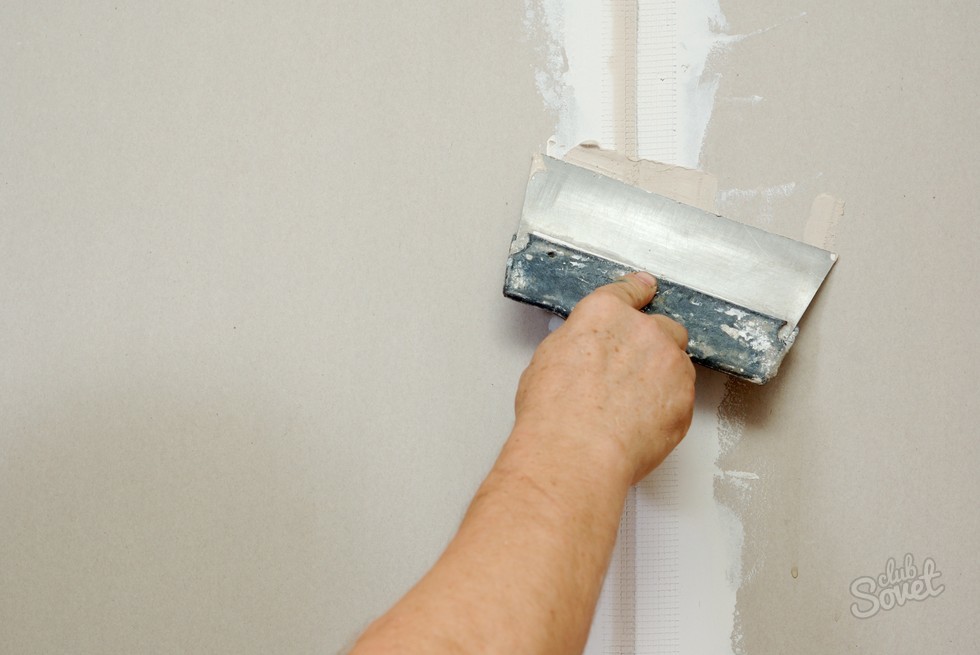
- After we put a putty on the spatula, it is necessary to smear it along the wall.
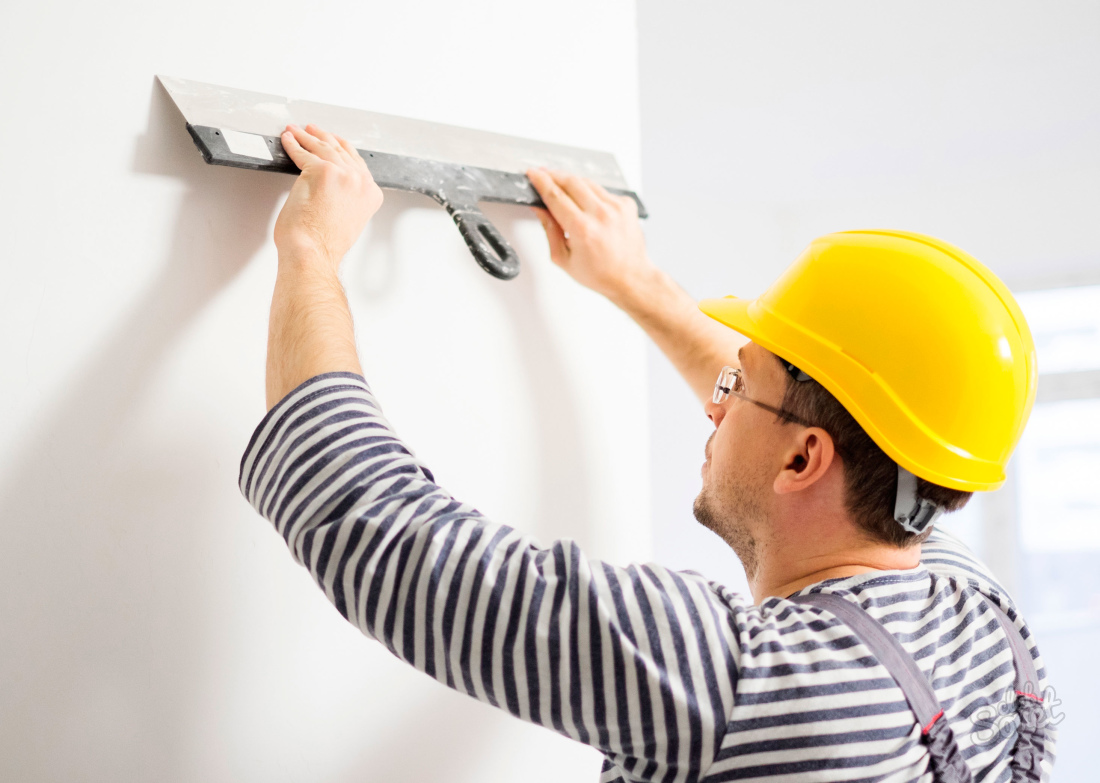
- The layer that will be applied to the wall depends on the initial position of the spatula. E.
- if we press the tool perpendicular to the wall, i.e. At an angle of 90 degrees, the layer will be thin. And the angle is sharper, the greater the layer of putty.
- After applying the solution on the wall by the movements of a large spatula, rub the solution along the wall so that it is distributed proportional to.
- Many after applying putty smoothed her over the surface for too long in one place. It is important to understand what this is not necessary. With this way, the putty you spend your precious time.
- Apply a putty to several places at the same time and only then start smoothing.
Tip: If you are putting the ceiling under painting, it is better to make smoothing movements towards the light source. This will allow you to avoid waves that appear when distributing putty on the surface. In general, it does not matter which direction you will smooth out the solution. Some masters recommend to apply the material to the window to the window.
We remove too much
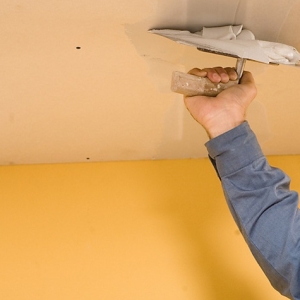
After completing the main process of putty, it is necessary to get rid of droplets and enclosures that remained after work. This can be made already familiar with the spatula.
- To begin with, it is necessary to clean the spatula itself, wash it in hot water and wait until it desoses.
- After that, by pressing the spatula to the problem location, in the corner movements, we supply the spatula on the surface of the wall or ceiling.
- Do not be afraid to apply the force done by work you will not spoil.
Following these rules and principles of working with spatulas, you can easily apply putting on your walls or ceiling yourself. It is important to take into account all moments, ranging from the correct position of the spatula, ending with the technique of applying a solution.