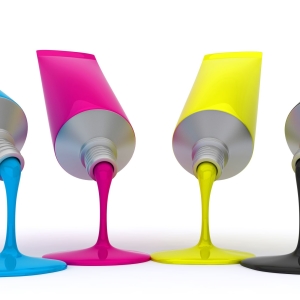
A significant disadvantage of inkjet printers is the tiny resource of their cartridge. The cost of the HP printer is small compared to the cost of replacing cartridges. With its active use, they have to change them very often, even with economical printing. The paints are enough for only 200-300 pages (depends on the model), and if you print photo cards, then less - by 50-60 pieces.
1
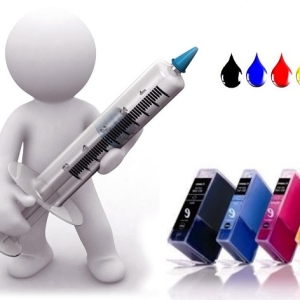
Ink ends, as a rule, when it is necessary to urgently print some kind of document or photo. The cost of HP cartridges is translated, and you can only buy original from the manufacturer. Do not rush to part with the used printing element, try to get used to it. Original ink in the store you will not find, so buy the printer compatible for your model - read on the label. You will need:
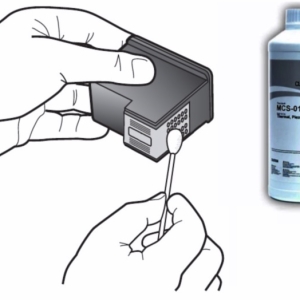
Prepare the work surface in order not to get dirt ink. Before refueling, clean the printhead with a napkin moistened with CL04 or CL06 cleansing fluid. Nozzle printing plate, outer side of the head, wipe softly, without push. It is better not to keep the cartridge empty for a long time, the ink dried, the nozzles will be born, and it will come into disrepair.
3
In different models of printers, even from one manufacturer, the form of cartridges may differ. On the Internet there instructions for specific modelsBut the algorithm of actions on their refueling is the same. Remove the empty cartridge. Keep it nozzles down. A protective film from the housing can neatly delete the stationery knife. Under it will find a filling hole. It can be closed with a rubber ball, remove it.
4
Type the ink of the desired color in the syringe. The amount of ink must correspond to the capacitance of the cartridge. For example, the capacity is 10 ml, it means that the ink is necessary as much or slightly less if the cartridge is not completely empty. Put on the refueling needle with a small diameter on the syringe. Carefully pincise the filling hole, entering the needle as deep as possible. A sponge-filler inside can have a slight patch resistance - this is normal. Keep the needle at a slight angle. As soon as you feel that the needle rested into something solid (filtering element), stop the pressure and slightly lift the needle up.
5
Enter the paint very slowly until the ink droplet appears at the needle entrance to the filling hole. If they have fallen too much, excess is drawn into the syringe. Carefully remove the needle from the cartridge. Get out the hole with a napkin and glue a protective film into place. If it is not fixed, then use the sticky tape stickers to fix the stickers. Secure it so that all the holes are hermetically closed. Rinse the needle and syringe with warm boiled or distilled water. Better for each color to take a separate syringe.
6
Put the cartridge on the wet napkin nozzles down and leave the minutes at 10 in this position. Then gently wipe the contact plate and the entire print surface of the cartridge is a soft dry napkin. The cartridge is ready for work. According to the instructions, install the cartridge in place and perform the entire cycle of its primary setup and adjustment. Description of the standard methods of this process, find the instructions for servicing your printer.
Refueling non-chipped ink cartridge at home significantly reduces the cost of maintaining the printer. But keep in mind that when this process is fulfilled, a certain skill is required. Bad low-quality inks, careless actions can spoil the cartridge and even the printer. If the print head dried up, then place it in warm water about 5 mm, leave for 2-3 hours. Try to fill out immediately after graduation in it in it.