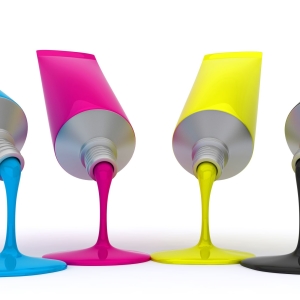
After purchasing the printer, as a rule, it is enough to refuel its cartridges by about 25-30 sheets of color printing. After developing their minimum paint resource, the user will have to either "fork out" to a new cartridge, or try to fix the existing one. The second option is preferable, since the color cartridge is on average 1/3 of the value of the printer itself.
1
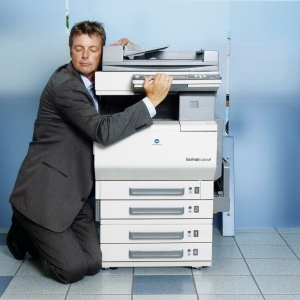
The refill of color cartridges of most printers is not much different from each other. First of all, lift the device cover in order to open access to cartridges. Please note the printer must be on the network, since the cartridges are fixed on a special platform, which should take its place designed to maintain the system.
2
Most printers have small stickers with "B" and "C" characters. In English, they denote: "Black" (B) - black and "Color" (C) - color. These letters determine the location of the corresponding cartridges in the device. To remove the cartridge, you need to slightly pull to myself and down the arms that appear - it will pop up.
3
After you removed the cartridges, remove the sticker on top of the lid. Under it will be at once 3 circumference for holes. In the center of these declarations of circles, it is necessary to drill or droop the neat holes with a knife or cutter with a knife or a cutter with a cutter. Be careful that garbage or chips fall inside the cartridges.
4
In the color cartridge, paint should be distributed in certain tanks. It is important to be as accurate as possible and not to confuse the ink holes of a certain color. Otherwise, the cartridge will have to disassemble completely and thoroughly rinse or replace it with a new one. It is possible for yourself even slightly scratch on top of the cartridge, which hole and which paint should be poured.
5
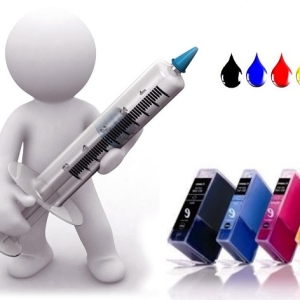
Ink for cartridges are presented in two versions - in special syringes and in banks. Buy the first option and noticeably overpay does not make sense. To refill ink in the cartridge, conventional medical syringes will fit, and the banks with ink are enough for a long time. To fix the cartridge, you will need 10-millimeter syringes. Remember, an individual syringe should be used for each ink color.
6
Enter the needle into the paint hole about 1 cm deep into - it must be free to enter the air from the hole. Start pour ink. About 3-4 ml of paint solution should be placed in the compartment.
7
Palace the paint should be very neat, using napkins if necessary, since the ink for the printer is very caustic and can be painted fingers for a long time, and not to get out of the fabric.
8
In no case do not turn the cartridge upside down. Paints can be mixed, pour through holes. Recommended after refueling, stick the holes with scotch. Before putting the cartridge, a clean napkin wipe the nozzles thoroughly, since the ink drops can be cooked. Also, do not touch the electrical contacts that are located on the side of the cartridge.
9
Insert the cartridge in place, very carefully, before you hear a light click. This means that the ink took the same place.
By installing the cartridge, swipe the test page. If necessary, clean. Sometimes the printer can block print messages about the need to replace the cartridge or lack of ink. Press the STOP button and hold for a few seconds. After that, the work should recover.