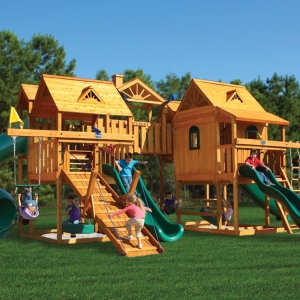
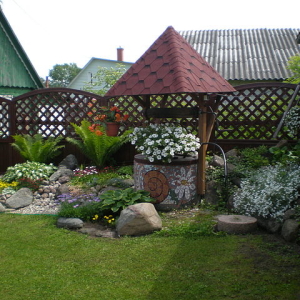
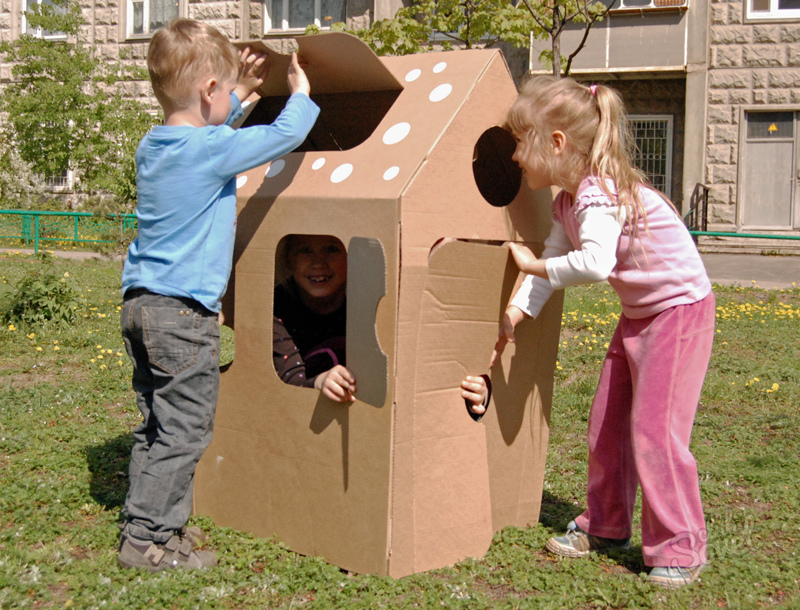
Children really like to play in the house. If you have the opportunity and the desire to create this cozy corner, we are ready to offer some interesting ideas.
The simplest way to make a lodge on the playground is to pull the cloth (sew a cover) on the staircase - arc or through the horizontal bar. Under such a "roof", the child will not be hot, and you do not have to worry that the sun will arouse his head.


- We draw a drawing of the future building, mark all the measurements from nature on it (consider the size of the site allocated to the house, and the parameters of the child so that it was comfortable there).
- We calculate the number of necessary material, check the presence of the desired equipment.
- We analyze possible savings options: how to replace expensive material, who has to ask or rent equipment.
- We prepare the pad for the house: align and tamper the ground, make the markup of the corners.
- In the corners and in the middle of each side of the rectangular platform, there are 20 cm with a depth of 20 cm, we set the bars-supports in them so that they tower over 10-15 cm above the ground. If the construction is bunk, it is better to pour the supports with a solution.
- Aligning the supports, nail 4 boards to them - the bases for the floor and walls.
- Tightly laying out floorboards, nail or screw them with screws to the base. Paul is ready.
- We prepare the walls of the house - each separately. It does not matter what the wall will be: a sheet of chipboard, board or lining (solid or with large lumen), first need to be "led" the wall itself (deaf, with window or door opening). Then attach the vertical bars on both sides so that their ends are accurately with the upper side of the wall, and below they were longer than 50 cm. Ends are sharpening to make it easier to drive into the ground. By the way, it is simpler to do end walls to immediately do in the form of a pentagon - with an area for the roof and attaching in addition to the side bars also the top, which brings them between themselves, it will be the basis for the roof.
- The finished walls are driven by a sledgehammer in the ground so that they fit tightly to the floor. Watch the walls stood clearly vertically and without cracks. We fasten them between themselves.
- The vertices of the end walls (more precisely, the roof bases) connect the transverse bar, strengthen the design with the corners.
- We cover the roof (plywood and any residues of the roof: slate, rubberoid, straw, rails, in the end - a greenhouse film in the case of rain, if nothing else turned out at hand).
- Krasi, we are doing trim, we draw a house from the inside shops, a table, a door, windows.

We are confident that among these ideas there is one that you will have to do with the liking and on the pocket!