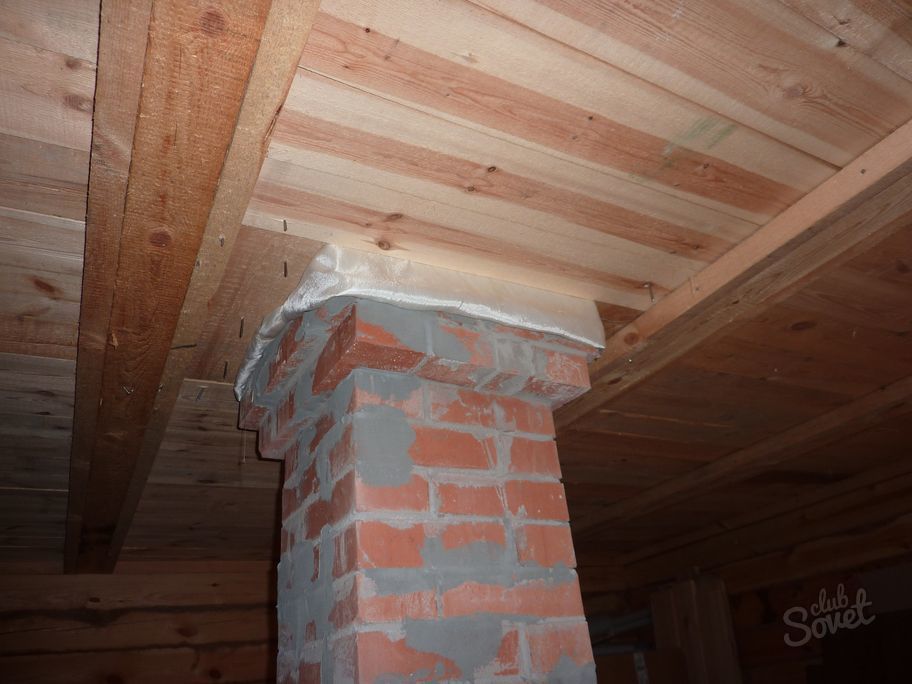
For the construction of modern chimneys, a variety of materials are used - from the chamot and ceramics to stainless steel, however, the structures posted on the old-fashioned brick are considered one of the most reliable and durable. In addition, the classic brick chimney will perfectly complement the appearance of any structure.
For masonry, chimney choose a full-length red brick with smooth side faces and edges. With a slight tapping hammer, high-quality brick makes a characteristic ringing metallic sound. As for the masonry mixture, it is better to use non-lime-cement, but a clay-sandy solution to build a chimney. Brick chimney design consists of the following departments:- The housing tube is part of the chimney, which comes from the furnace to the first cutting. There is a special smoke valve, which can be controlled and adjusting the thrust.
- The roller (cutting) is an extended chimney channel that protects the ceiling overlap from fire.
- The riser is a smooth attic part of the pipe, reaching the level of the roof.
- The otter is the second advanced chimney department designed to protect the design from atmospheric precipitation.
- The cervix is \u200b\u200ba street smooth part of the pipe located above the output.
- The headpoint is the last expanded area, crushing the chimney design.

On a note! Starting from this stage of construction, constantly monitor the vertical of the smooth areas of the erected pipe using a plumb.

An important nuance! Consider that throughout the construction, the internal channel of the chimney pipe must maintain the initial sizes. The erroneous extension or the narrowing of the inner cavity can provoke a violation of the thrust and smoke the room!
To reduce heat loss and prevent condensate and soot to warn inside a brick design, a slide is installed in the chimney cavity - the rigid stainless pipe of the round / oval section. All empties between the walls of the well and the pipe are filled with non-flammable heat insulating material. If the harption is not provided, then at the end of the masonry, the inner surface of the chimney is separated by plaster - the inner walls of the pipe should be as smooth as possible and smooth. Otherwise, the chimney begins from the inside to turn soze and soak, as a result of which the working space of the inner channel is narrowed and the thrust deteriorates.

Do not forget that even a new brick chimney needs timely cleaning and regular prophylaxis.


