Ultraiso is an application for Microsoft Windows, designed to create, change and convert graphic ISO files used to authorine optical disks. Simply put, the program allows you to create and edit disk images. The program is equipped with a number of additional functions and can not only create images, but also emulate and record compact and DVDs.
Ultraiso is an undemanding program and translated into Russian, which means it is perfect for creating a loading flash drive.
Carefully follow the instructions, otherwise, you risk burning "dust."- First insert a flash drive into the computer.
- Run the program on behalf of the administrator.
- We go to the "File" section and find the "Open" window, click. Or use the combination "Ctrl + O".

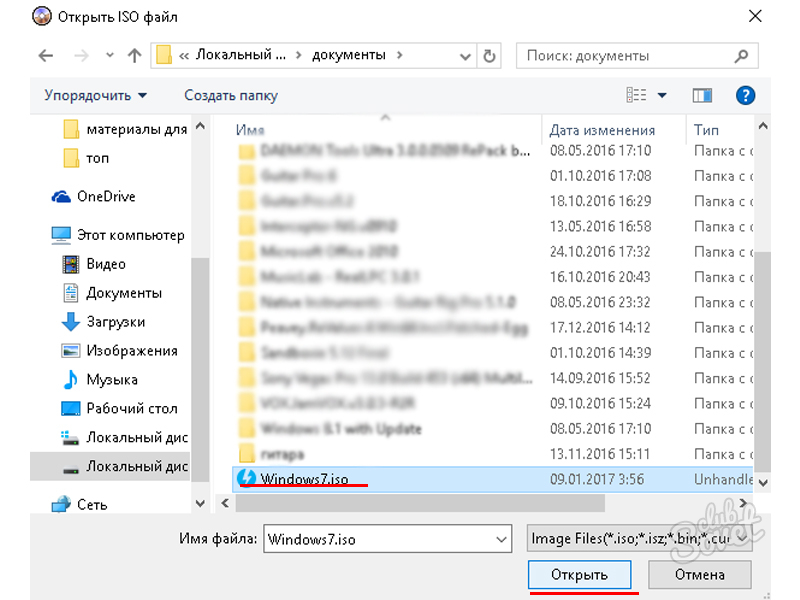 .
After moving to the "Self-loading" section, having previously highlighting our image. Next "Write an image of a hard disk."
.
After moving to the "Self-loading" section, having previously highlighting our image. Next "Write an image of a hard disk." 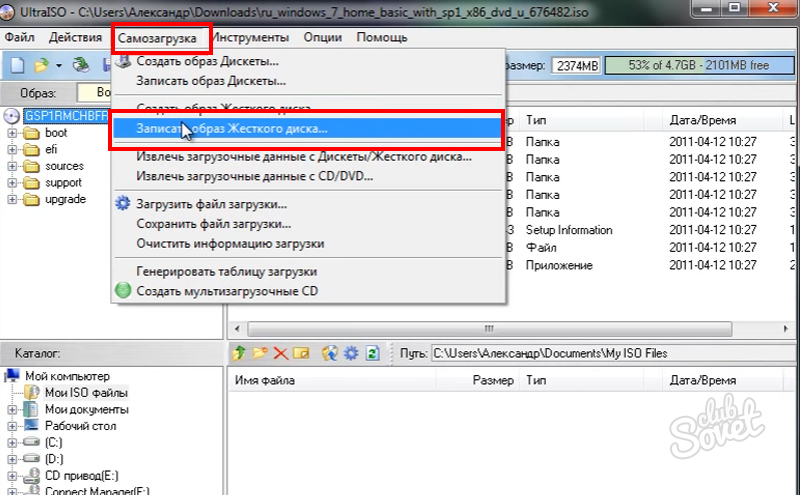 We check that our flash drive is set to "Disk Drive" to record, and in the "USB-HDD +" method ". Click "write down".
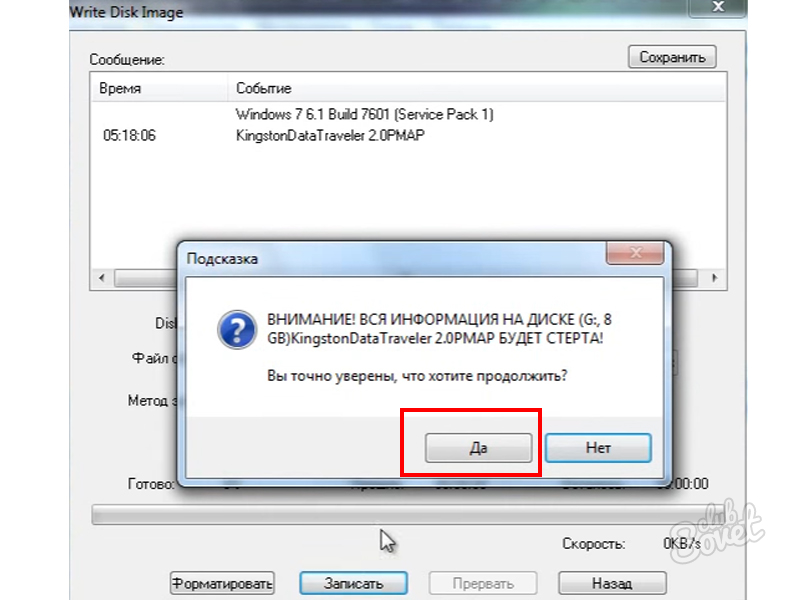
Flash drive is ready! The image of the operating system is successfully created. 
Have a bootable flash drive at hand, it is very important and even necessary. In the event that your computer is faulty and the immediate reinstalling of Windows, which turned out to be the earlier boot flash drive, will correct the situation and help solve the problem with reinstalling the operating system.
To install Windows from a flash drive, do not forget in the BIOS to set a priority download from the USB device. In this case, the computer will be loaded from removable media, and you can reinstall the system.