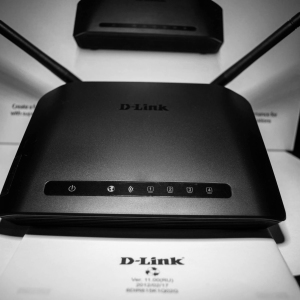
TP LINK routers are among the most popular. They are easy to configure and conveniently use. If you bought one of these modems, but do not know how to configure it - this article will help you. Unpack the TP Link router and head to the cable from the Internet.
How to connect a TP Link router
So that the Wi Fi network extended to the whole house, and you could connect multiple computers to the modem, you need to connect it correctly. First of all, check out the approximate scheme of the connectors in the modem in the picture below. Depending on the model, the inputs may vary, but not much.
- Network Enable and Disable Button. Can be used to restart the modem;
- Connector for power cable, which leads to a socket;
- A place for a cable WAN, which stretches from the wall and connects the Internet;
- Several LAN cables you can insert into these connectors, stretch them to computers;
- The second largest button usually contains QSS - this is a Wi Fi connection technology by a closed network;
- The smallest button that can be pressed only by the nail or needle is used to reset all the router settings.
Take the cable from the Internet and insert it into the connector 3. Input cable 2 Insert into the socket and turn on the router by pressing the button 1. If you are going to use only Wi Fi - no longer need to connect, but if you want to stretch other LAN cables to Computer, then insert them immediately in the inputs 4.

How to configure TP Link modem
Once you have connected all the necessary cables and turned on the modem, you can sit down at the computer and start setting up the network.
First enter the settings by opening the browser and enters this port in the address bar:
- 192.168.1.1;
- 192.168.0.1.
One of the options will definitely open the settings. First, the login window appears before you. By default, the password and login is the same: "admin" without quotes and with a small letter. Later you can change these parameters.
Now that you entered the main TP LINK settings, go to the "Network" section. From the drop-down list, select the "WAN" section.
In the first line "Wan Connection Type" select the "PPPoE" parameter.
Enter the login and password from your network. You will find this data in the documentation from the provider, or call the hotline.
In the "Wan Connection Mode" row, place the "Connect Automatically" tick. Click "Save".

Now you need to copy the poppy address. Go about the "Mac Clone" tab and click on the "Clone Mac ADRESS" button. Click "Save" again.

How to configure Wi Fi on TP Link router
Now you can configure the wireless network on your router. Go to the "Wireless" tab, and then in the "Wireless Settings" subsection.
- In the "SSID" field, write down the name of your network, which will be seen to everyone who will turn on Wi Fi;
- "Region" - your constant range;
- The remaining parameters leave the default.
Click "Save".

To protect your network, go to another subsection "Wireless Security". Among the sets of protection options, it is better to choose "WPA-PSK / WPA2-PSK".
- In the "Version" string, exhibit "WPA2-PSK";
- "PSK Password" is your password. Enter it using Latin letters and numbers. Do not show a password to anyone.
Click "Save". Now the neighbors will not be able to connect to your network.

Reset Routher Settings
If you need to reset all settings to the factory, it is not necessary to look for a needle and use the button on the housing - you can do it through the parameters.
Lay the section "Backup & Restore". By clicking on the "Backup" button you can roll back all the settings, and the "Restore" button you can restore the parameters from an early saved file with the settings.


