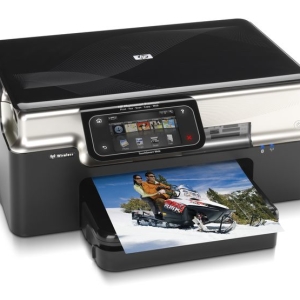
Install the printer without an installation disk for most of the operating systems is easy. Consider the steps of the installation process.
Through the USB port, connect the printer with the computer
For most modern printers, the Windows installation wizard will install the drivers. If this did not happen, follow these steps.
- Check the Internet connection.
- Check if your printer is enabled.
- If the model is too outdated, the drivers will have to install itself. To do this, follow these steps.

Find the device and install the required drivers.
- For Windows: Click "Start" and select "Control Panel). Find the "Devices and Printers" item. Select "Add Printer". Select the desired model from the proposed list. The system will start installing the necessary drivers.
- For Mac OS X:In the Find "System Settings" menu. Select "Printing and Fax". At the end of the device list, locate the "+" button. Choose your printer model in the list.
- If you could not install the printer drivers using the operating system, go to the next step.

Find and install the drivers for a specific printer model.
- Determine the device model. Usually the name of the printer model is on its front panel.
- Go to the Customer Support section. Find the desired printer model.
- See if drivers are installed on your operating system.

No Internet
If the computer to which you want to connect the printer is missing Internet, use another computer, and then copy the desired files to the flash drive. As a rule, the weight of the drivers does not exceed 200 MB. Also on the website of the printer's manufacturer in the "Support" section there may be more detailed information.

Thus, using several simple techniques, any user can connect the printer, even without having an installation disk.


