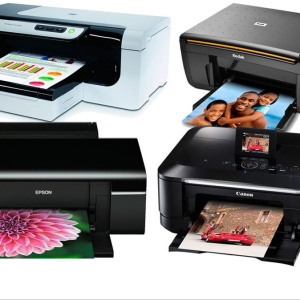
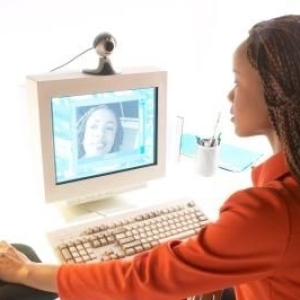
In addition to the computer itself, there are many peripheral devices useful to the user. At home there is no printed documentation stream, but sometimes very convenient, without leaving the house, place a statement, print coursework or photos from vacation. The printer is not enough to buy and connect to the computer correctly. To use all of its functions to be 100%, you must configure, install drivers, disk software.
1
Turn on the computer, wait for it to fully download it. Connect the printer to the power grid, attach the printer to the computer via the USB cable, turn it on. The operating system will immediately respond, start scanning a new device. The process will end with a device readiness to work. Maybe the printer driver will be found automatically, but for high-quality printer work, it is better to install "native" drivers from the disk attached to it. The disk is missing or spoiled - look for drivers on the manufacturer's website or on a verified website.
2
Disc with drivers in the drive for CDs. The autorun software will begin. The "Installation Wizard" window opens. If the autorun file did not work, make the "Installation Wizard" manually started. Open the "My Computer" folder, right-click on the "CD | DVD" drive, select Open. Find and run to execute the "autorun.exe" file. "Installation Wizard" will accurately earn.
3
Usually the program interface is made so that the usual user can easily figure out and perform all printer settings. Follow the instructions on the screen. After installing the driver, try printing the test page. Open any text document, in the File menu, click the "Print" command. The document is not immediately printed. First, make additional print settings - specify the parameters: page range or all pages, number of copies, color printing or b / b and so on.
4
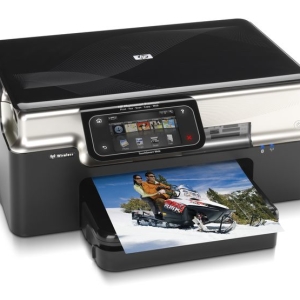
If you decide to print photos, then buy a set of photographic paper. Paper can be matte or gloss, different density. In order for the photos to be high-quality, click on the "Properties" button in the printer settings window, change the parameter values \u200b\u200boptionally. Set the print quality required by the paper format, if it differs from "A4", and the type of paper (normal paper, photo paper, glossy photo paper, ...), leaf orientation (book, landscape).
5
It is very important to correctly set the value of the "print quality" parameter. If this is a trial option, choose fast printing and only black ink. Having considered the "Chernovik", make the necessary adjustments and then print the document by setting the quality of the "best" or "high". In order to save the ink economy, it is enough to print "normal" print. For printing photos, the most practical option is a semi-chair photo paper. After completing the print setting, click "OK".
Without additional settings, send an open document to print, you can combine the "Ctrl + P" keys. You can also print a web page on the Internet: "Ctrl + P", in the "File" menu select "Print ...", select the page fragment, copy the contents to the memory buffer - "Ctrl + C", insert on a sheet in a text editor - "Ctrl + V". Print as a regular document.
Share advice:"How to print from a computer to a printer"


file name - what is it?