The webcam allows you to see the interlocutor in real time. However, sometimes, especially in a person inexperienced, there may be difficulties with its connection to the computer. In fact, nothing terrible in it, you just need to understand what you are doing for what.
1
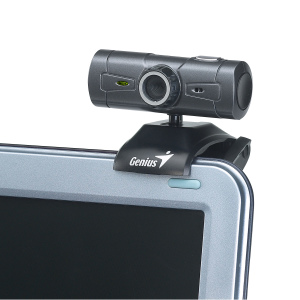
The method of installation on a computer from different cameras may differ. The camera is attached to a narrow liquid crystal monitor using special grips. If the device has a leg, platform, then it is advisable to put it under the monitor in the middle or side at discretion.
2
The camera is most often connected to the USB connector of the system unit (it may be on the back, front panel). During the connection, the device is connected, there is no need to turn off the computer, it may well be turned on. Sometimes the camera has an additional power cord to be connected to the power grid through the outlet.
3
In order for the operating system to detect the camera, you need to install special drivers for this model. Usually they come complete with the camera are located on a separate disk. In the instruction manual, the device must be specified, in what order you need to connect the camera to a computer, these recommendations should be strictly adhered to. For example, it is often necessary to install the drivers first and only then connect the camera. To install the drivers, it is easy to insert a disk into the drive, after which follow the prompts of the program that opens. If the program does not appear independently, open the disk through the conductor, find the installation file (it is called "Install", "Setup" or as a camera model, has an extension ".exe"). If the camera was sold without a disk, you can download the driver on the Internet by specifying the device manufacturer by selecting the desired model.
4
You can find the driver by the identification number. Open the Device Manager. By right-clicking on "My Computer", select "Properties". If you have Windows XP, go to the "Equipment" tab, "Device Manager" and find the camera (without drivers it has an exclamation mark near the title). Most likely, it will be in "sound, video and gaming devices" or in "USB devices". Click on the camera right-click and select "Properties". On the "Details" tab, select Education ID, enter the first line in the search engine (this is the device name).
5
In addition, in the device manager, you can select "Update Drivers", "Automatic Driver Search".
6
By installing the camera, you can configure its various parameters at your discretion: quality, brightness, height and width. To do this, go through the "Start" - "Programs" or use a shortcut on the desktop. You can expand functionality using special free programs, such as: Webcam Plus! Lite, WebcamXP, Webcammax.
There are such cameras that can work without pre-configuring drivers. In this case, it is necessary to simply connect to the computer and proceed to communicate.
Share advice:"How to install a web chamber on a computer"


i can not install the camera