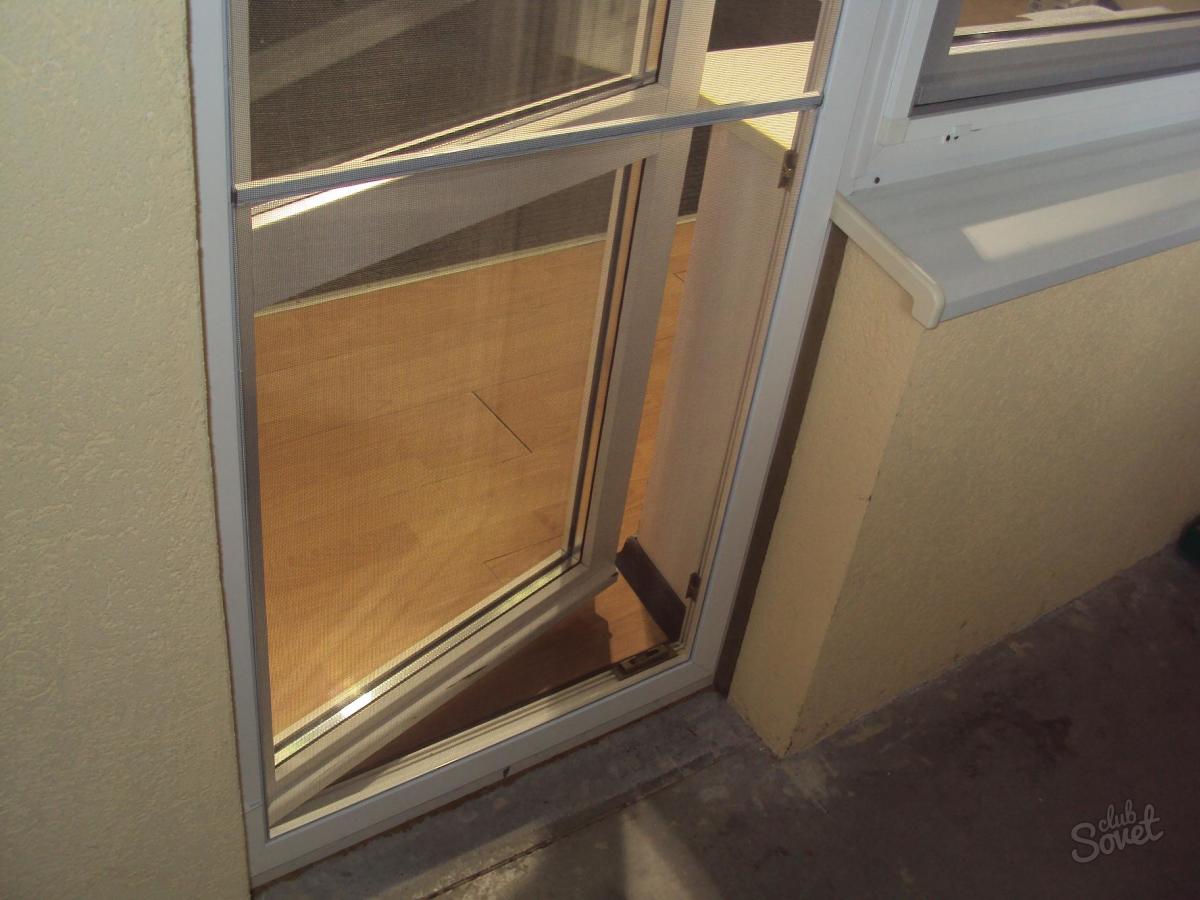
The installation order of the mosquito net is determined by its design. The complexity of installation depends on the location, the method of consolidation and features of the window or door.
Used tools:- Screwdriver or drill;
- Thin drills;
- Rivet tool;
- Screwdrivers;
- Rule, roulette.
The grid package usually includes fasteners, which is negotiated when ordering and checked before purchasing the product.
Fixing on internal metal brackets - a simple and safe way to fix a removable frame mesh on plastic window. Hooks are mounted on long straps using aluminum rivets. The mesh installation in the opening is as follows:- Using the side handles to hold the product, the upper brackets are triggered behind the window influx.
- The grid rises up to the upward, the lower hooks engage for the protrusion frame.
- Mosquito cloth is imprisoned to the end and aligns in the window opening.

Installation order:
- The lower brackets are fixed with self-pressing, while having a distance of 20 mm from the edge of the opening.
- The grid height is measured, 10-15 mm is added, the installation points of the upper brackets are noted.
- Corners are screwed at an equalued distance between themselves and from the borders of the window opening.
- Mosquito net is installed: snapped up to the upper fastener and starting up in the lower corner, the product is lowered into place.
Installation on plungers:
- In the mesh frame, places under the pins are prepared: four holes are drilled in diameter, as at the threaded part of the plunger, then in the outer walls of the opening profile are expanded to the size of the tip extended.
- Pins with rush springs are inserted into the frame and are tightened with tips.
- The grid is trying in the opening, tags opposite the outs of the plungers.
- The holes in which the retaliatory pylves are installed.
- The brush seal is pasted on the grid profile.
- One side of the product is placed with plungers in the feed holes.
- Pressing two tips from the opposite side, the grid will start in the opening and fixed.
- Door opening should be overlapped by 10 mm on each side.
- The minimum clearance between the frame and the upper slope is 21 mm.
- A sufficient space is ensured around a self-waving mechanism for adjustment.
- The magnetic retainer is fastened on the opening, and the retaliation plan on the frame profile.
- The amount of magnetic latches is selected, based on the height of the door.
- Trimming the case and shaft with a grid according to the required dimensions.
- Preparation of guide and fixing planks.
- Assembly of body parts and gearboxes.
- Marking and performing mounting holes.
- Fastening the system on the window frame.
- Checking work and adjustment.

An ordinary affair is the installation of an ordinary frame or homemade mosquito net.. More complex, but also available for doing with your own hands, will be installation of a rolling mosquito system.


