An annoying when the phone "sits" at the most inopportune moment, and it is not possible to charge it. Portable charging devices - the pleasure is not cheap, it is much more profitable to make such a device with your own hands.
1
For homemade "charging" you will need:
2 Crohn batteries (1 new, 1 used - unnecessary);
silicone or any other sealant;
any closing plastic or metal box;
plastic bottle;
soldering iron;
switch (you can remove from a spoiled player or children's toys, for example);
charger USB –devicewhich is inserted into the cigarette lighter of the car (you can order from China for a couple of dollars);
copper wires.
2
Terminals for connecting shift batteries removed from the spent "crown" or from a broken machine that operated from the batteries of this type. To the back of each terminal, we solder through the copper wire. Then carefully wore a sealant from two sides the resulting design so that only the facial parts of the terminals remain "dry". After Silicone will finally dry, try to "fasten" the workpiece to the new "Crown", and then chop it up.
3
We disassemble the car charger. To do this, unscrew the metal tip, open the half of the plastic case, unscrew the board with the USB port and the spring from the housing.
4
Now all trained parts must be connected to one chain through the switch. The battery shows where "+", where "-", on the board, the central spring is suitable for the "plus", and the side wire is "minus". On the workpiece, which is with a board, instead of the side wire, you need to solder a wire that comes from the "minus" batteries.
5
The wire is soldered to the springs, for the convenience of the same color as the one that comes from the "plus". Now two free end of the wire solder to the switch. Now the device is almost ready. It remains only to collect the entire chain inside the prepared box.
6
Insert a part of the chain with a USB port in the box, then take a hole for the port. Putting an inside of a wooden bar, squeeze holes for the switch and USB. From the plastic bottle cut the bottom of the box, undress it. Insert the USB port into the hole intended for it, secure it and the sealant plateau in several places. Install the switch into your hole and lubricate a little silicone from the inside.
7
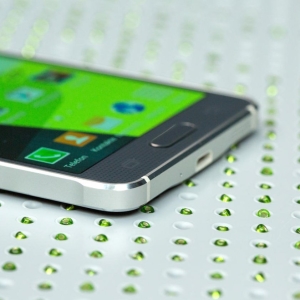
It remains only to test the device. Install the battery, turn on the diode on the board, connect the phone via the USB cord to the port and make sure that the battery charging process has begun.
Portable Chargers USB Devices There are on average and a half thousand rubles, so the benefit in making it is apparent with your own hands. Do not be afraid to experiment!