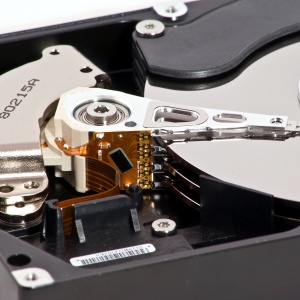
The hard disk of the computer is divided into sections to protect the data and their convenient storage. On the system disk (usually this disk) is installed by the operating system and some programs. Other logic disks serve to store files, documents, video, photos, music and other things. When reinstalling an OS disk with formatted, all information and old programs are deleted and change to new ones. Data on other logical disks remain intimate and unharmed. Additional convenience of dividing the hard disk is that when checking the system, in the case of its time failure, this process will go less, since the disk capacity is limited only by the necessary system files and programs.
1
The hard disk can be divided using the Windows itself or special utilities. In this material we will look at both ways. Before starting work, it is necessary to know that the number of space for the system disk Namaum is not selected. For Windows XP, 35-40 GB is quite enough, and for Windows 7 will need more - up to 80 GB. The rest of the hard disk can be provided under another section.
2
At this point we will find out how to make a disk dividing with Windows7. By right-clicking on the "Computer" label, we get into the context menu, where we go to the "Management" item. Before us opens the "Computer" window. In his left pane, you need to select "Disk Management". Here you can see information about all sections of the disk and their free unimpressed space. The logical disk is deleted if you mark it, knocking the desired command with the right mouse button in the context menu. Noting a free unimpressed space, we can create a new disk here. The "Compress Tom" feature allows you to free part of the space where you can also create a disc.
3
The Acronis Disk Director utility is a more convenient tool for dividing the hard disk. Starting the program provides automatic and manual operating modes. The beginners will easier act in automatic mode - less confusion. With manual mode of settings and functions available more. After downloading the Acronis Disk Director in the menu of its "Wizards" you need to select "Creating sections". Immediately will start the "section of section creation". Here I choose a place for a new section.
4
When choosing a free space on the existing sections, the program will request refinement of the name of the section for free space.
5
Next, you need to specify the volume of the new partition, inserting the numbers by moving the slider or manually.
6
The following windows indicate the type of "logical" section, file system and disc letter. All, you can finish the work of the "Master". The final execution of operations is fixed by pressing the button with the checkbox. The program will ask for reboots and before starting the OS will create new partitions on the hard disk.
We hope that the article turned out to be cognitive. Good luck to you in its application!
Share advice:"How to split a hard disk to sections"