


Creating interesting and high-quality videos requires long training to the skills of installation and good perfection, but preferred simple programs, you will save a lot of time. Windows Movie Maker is designed for beginners in the field of video processing, here you can easily apply music to rollers, apply effects, insert your own presentations, illustrations and inscriptions. Try creating your first project for friends or colleagues, effectively issuing your photos and short videos into one file. Note that this program is suitable only for the Windows operating system, which can be guessing from its name. For other OS, you can pick up various similar editors.
Download and install Windows Movie Maker
- Fresh version of the editor you can download the link http://soft.mydiv.net.. You only need to choose your version of Windows: from Vista to the tenth.
- Click on the "Download" button.

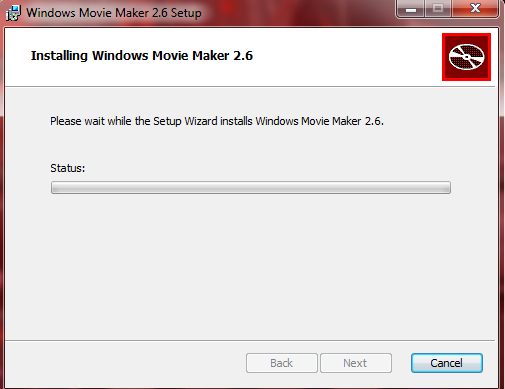
- When installing Windows Movie Maker, you need to agree with the license agreement, select the installation directory and enable the program access to multimedia.
- If you download an earlier version of the program, the label on the desktop will not appear, since this is not provided. You can make it yourself either just open the start and run Windows Movie Maker from there.

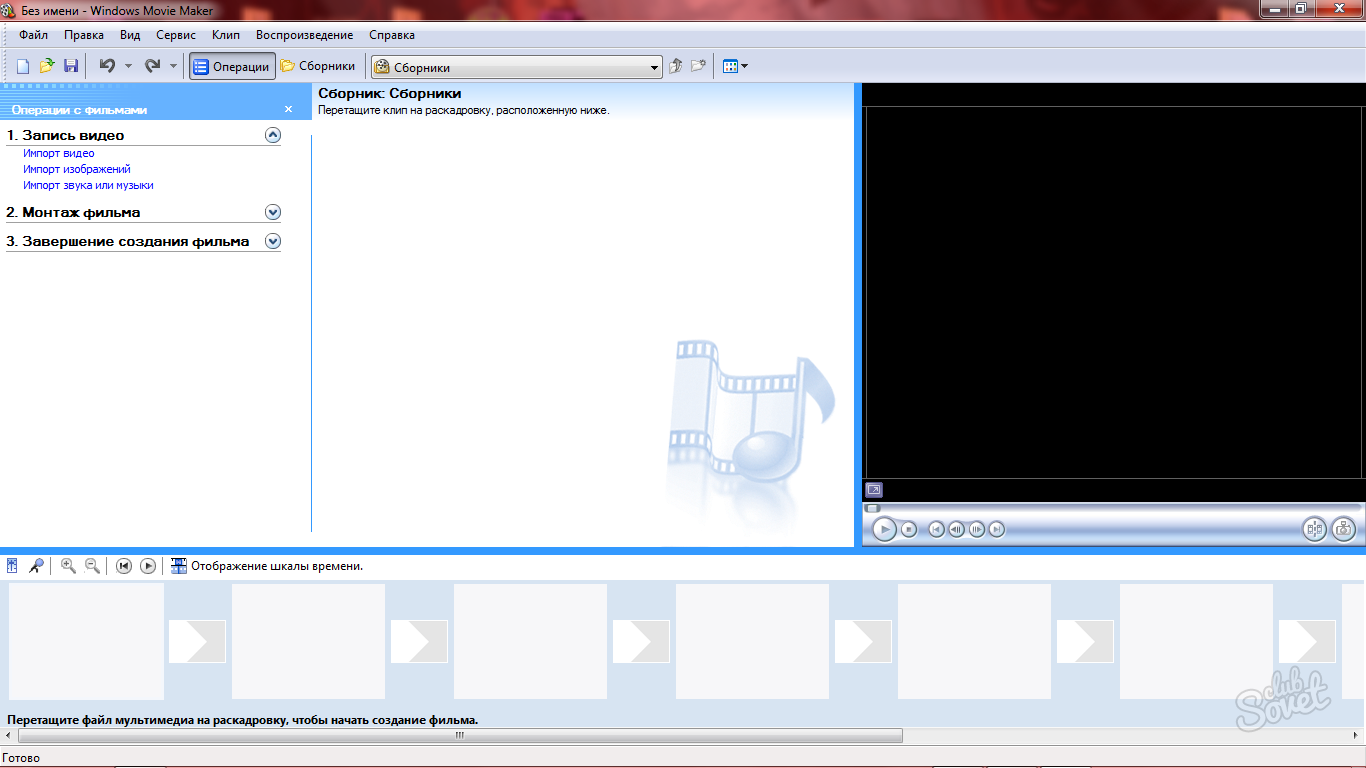
- Now you will find yourself in the main window of the program, where all the work will happen.
- Installation and downloading of this software will not cause difficulties in inexperienced users, which is a big plus for beginners in the field of installation.
Download files in Windows Movie Maker and work with tracks
First you should figure out how the elements of the future video can be downloaded to the editor. For this you have two ways:
- Just drag them to the lowest panel.
- Open the Video Recording tab and click on the appropriate line: video, images, or audio imports.

Taking advantage of any of these ways, you will get a small list of the necessary files in the Collection window. Here will be all the sources in their initial form not affected by editors.

- Now you need to translate the "Strocking" field in the time scale to start learning work with tracks, since they will meet you in a more professional software. Click on the "Display Time Time" button below.
- Just drag the files down to start glue them and set the desired size.

- Note that in this program only three tracks: audio, video, name. Accordingly, the music will be displayed in "Audio", images and videos in "Video" and so on.
- To change the duration of a separate element, you just need to pull over its edge on the time scale. You can also move their cursor.

How to apply effects in Windows Movie Maker
- When you put all the elements on the tracks, asked them the desired length and put the audio, you can think about the transitions, effects and other possibilities of the program.
- Open the Montage Video tab. Here you will find a number of links: video effects, transitions, titers and creating aftilm. Look at each stage separately.

- For example, you can click on the section "View video effects" and apply any of them to your video entirely, or to separate parts.
- You need to take the effect and drag it onto the element in the track.

- If you didn't like the effect, then simply press the Ctrl + Z combination on the keyboard.
- Similarly, it happens with the transitions: they need to drag down. This option will allow you to adjust the joints of the items for their smoother connection.

How to make titers in Windows Movie Maker
- In the same section, you will find a link "Creating titles and titles". She will need it for the inscriptions.
- Click on it and you will find yourself in the section with the choice of the site of the appearance of the titles. For example, they can be inserted at the very beginning, in the middle, to the specified element or after. Select the desired position.

- Now enter the text in a special window to edit the font, click on the "Change Color and Text Font" link.
- You will be available tilt, fatty, colors and fonts.

- If you click on the "Change Title Animation" option, you will see a long list with all possible font animations, it can spin, dissolve, turn into a puzzle and so on.

- After setting the titles, change their duration by pulling the element on the track.
- Now you know how to mount the simplest video using the basic parameters of Windows Movie Maker.

Saving video in Windows Movie Maker
- Open the Film Completion section. There are two subsections: Saving a video on a computer and on your digital camera. Select "Saving on your computer".

- Select the save folder and name your video.

- Put the checkbox "Best Playback Quality" item. Saving will begin instantly and last just a couple of seconds.
- Windows Movie Maker is the simplest and at the same time a convenient video and image gluing program.


