If your hard drive has failed, you can disassemble it to the details. But such a procedure requires certain skills. To competently disassemble the hard drive, it is important to know several useful rules.
1
If you want to repair a hard drive, then know that it cannot be opened at home. During the assembly of the hard drive inside the box, a vacuum is specifically created, thanks to which the device can work for a long time. If you pull the hard drive, it will be unreasoning after a few seconds in the air. Therefore, it is possible to disassemble the device only if you are completely confident in its malfunction.
2
Before removing the hard drive, turn off the computer and pull the wire from the outlet. If you use a stationary computer, remove the side panels from the system unit. At the back of the lid there are six bolts. Unscrew them to pull the hard drive without unnecessary obstacles. Disconnect all wires and loops that are connected to the Winchestera. Do it very carefully not to damage the wires. After that, you can proceed to unscrew the hard disk fastening bolts.
3
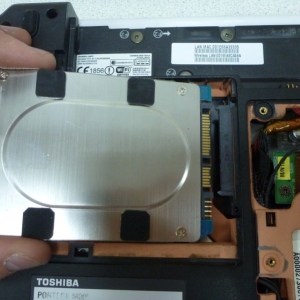
If you want to remove the Winchester, which is in the laptop, first completely disconnect it from the power, close the lid and turn it over. Pull out the battery from the computer. A special latch is on the laptop housing. Grab one hand, and the second push up the back panel of the computer below. Act care - so that nothing broke, attach uniform efforts. Then the cover is leavingable - and you can remove it from the housing.
4
On some devices labeling is missing. If it is not - you will have to open all the covers on the rear panel. Winchester is located under the black film. On the plug of his cable there is a protrusion. Disconnect the cable from the connector. Then remove the fixing screws. On the hard drive housing there is a protrusion - pull for it and carefully remove the device.
5
Cook box for small details, hard drive, set of thin screwdrivers and knife. Wipe the working surface from dust with a dry clean cloth. Remove the motherboard on which resistors, transistors, small schemes, etc. are placed. Remove the three main screws and carefully remove it. Under the board there is a hard drive cover with all the details.
6
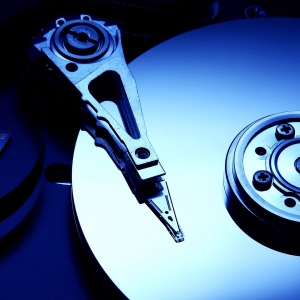
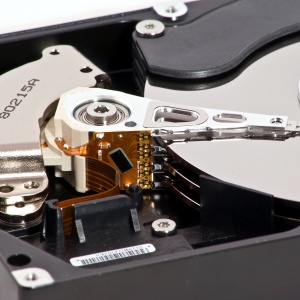
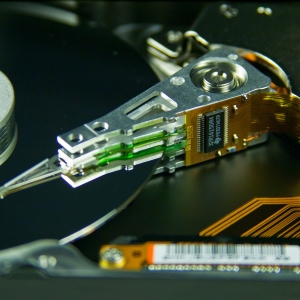
Unscrew seven screws and remove the lid. Then remove the block with magnetic heads. To do this, unscrew the two screws from both sides of the hard drive. Another screw is located in the center - unscrew it. Be careful - recording heads have powerful magnets, so you risks to pinch your fingers. After that, unscrew the four screws and remove the drives from the engine.
7
The basis of the engine is kept three screws. Unscrew them. Inside the engine placed coils. They rotate due to the inclined magnet. Carefully remove all coils and magnet from the attachment. After that you will have an empty screw. On this disassembly procedure comes to an end.
Now you know how to disassemble the hard drive into small details. Try to act slowly and carefully - then you will not damage anything and remove the necessary elements safe and safety.
There is no vacuum there, do not blame. Inside - clean dusty air, it is possible to disassemble at home, the main thing is that the dust does not fly, and if it gets, then blow it away from the plates


There is no vacuum there, do not blame. Inside - clean dusty air, it is possible to disassemble at home, the main thing is that the dust does not fly, and if it gets, then blow it away from the plates
Hello I read your article very interesting! I like it! Look at my video in which I disassembled old hard drive, and found very strong magnets in it!