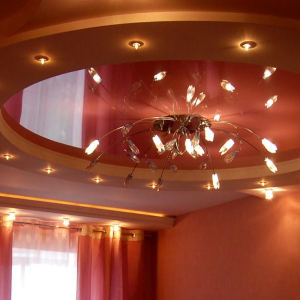
There are several options for connecting the chandelier to the electrical network. The connection method is selected in place depending on the device of the lamp, type of switch and the number of paved wires.
Preparation for work
To connect the lamp, you will need the following:
- Stepladder or reliable table;
- Screwdriver indicator;
- Multimeter;
- Passatia, knife;
- Screwdrivers with various slots;
- Terminal pads;
- Insulating tape;
- Pencil, marker;
- Passport on the chandelier.

Study chart
Technical documentation for the lighting device comprises a connection scheme with an indication of the assignment of wires or contacts:
- L (white or brown wire) - phase.
- N (blue conductor) - zero contact.
- PE (yellow-green) - grounding.
Color marking is sometimes different from the standard, and the letter on old lamps may not be. In this case, the purpose of the conductors is determined by themselves:
- Light bulbs are turned off, offend the exit wires and install the "transverse" mode on the tester.
- Place one dipstick on the side contact of the cartridge, and others are alternately adopted to the stripped ends - find the zero output, after touching to which the multimeter beep sounds. Marker marker.
- Install the probe on the central contact of the cartridge, the same method is determined and the phase wire is labeled.
- Next, one dipstick is fixed on a phase output, the second is made to medium-sized cartridges.
- If the signal is heard when the "ring" of each cartridge is a single-circuit chandelier and the third wire is designed for protective grounding.
- If some cartridges are "not nicknamed" - chandelier Two-kinning, which means that the last wire is also phase, which is convinced by checking the chains of the third wire and these cartridges.
Connecting single-mounted chandelier
A simple lamp with a single lamp or several connected in parallel inside the instrument is connected to a single-wave switch with two conductors. The phase is summarized to the central contact of the cartridge through the switch, and zero is directly to the distribution box. The compounds are performed by terminal clamps or twisted by the passage and isolate the ribbon.
Connecting two-door chandelier
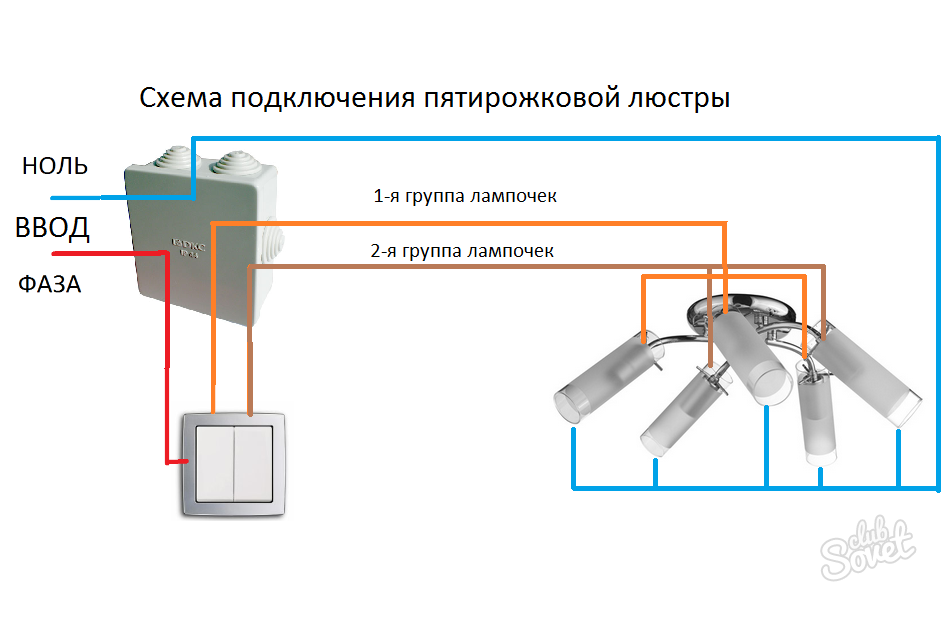
From the two-layer switch to the place of fixing the lamp suits three conductor. Connecting to it. The chandeliers with a separate circuit of turning on the lamps differs in that the phase output of each contour is listed to its switching switch.
Determining outgoing wires
To properly connect the chandelier with two contours, pre-determined the purpose of the wires:
- Include the keys on the switch.
- The indicator screwdriver find phase conclusions, put tags.
Now turn off the switch, check all the wires again - the indicator should not be lit. Connect the chandeliers to the marked ends of the wiring and twisted the zero wires. Perform checking the operation of the lamp, including both keys.
Connecting grounding
The lighting device with a metal case should be grounded. Conducted on modern standards wiring Must have a protective line. If the room meets these requirements, then the wires of yellow-green are simply connected together to connect the luminaire to the ground contour.
Electrical installation work requires caution. All connections are carried out after disconnecting the power supply and voltage check.


