Surprisingly, the Windows 7 operating system can not be used by all processors in the work. This may be due to the software failure or protection of the system. If you have four or eight nuclei, this does not mean that they are all involved in the whole, from here serious problems with performance arise. In this article, you will learn how to use all the nuclei in systemic methods, the CPU-Z and AIDA64 program.
How to enable all nuclei in Windows 7 through system settings
A certain number of nuclei can be exhibited inside the system, which can be used. Even if you, in fact, have eight nuclei restrictions on four cores will not allow the other four to include.
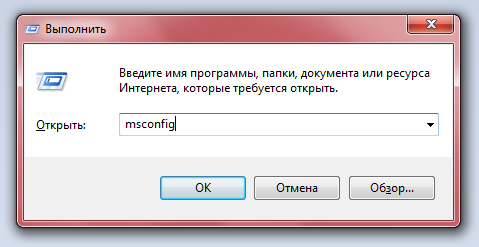
To fix this, on the keyboard, simultaneously clamp the keys of Win and R.

A search window will immediately appear. You need to enter the MSCONFIG command and click OK.
This team will cause a system configuration. In this window, you can perform thin settings for the launch of the system and auto load. Go to the “Loading” section.

Next, select the “additional parameters” button.

In the window that appears, you will see the set of nuclei today. If it differs from real, then click on the line “number of processors”.

From the drop -down list, choose the true meaning of your nuclei. Click “OK”. Now the amendment will enter into force after rebooting the computer.
Do not forget that you can perform such a setting only with an administrative account. If you are in the guest, you will have to go out.

How to enable all nuclei in Windows 7 via CPU-Z
If the previous method worked for a short while, or the number of nuclei immediately dropped into the previous value, then you will need the CPU Z.
You can download it on the official website at the address http://cpuz.ru/cpuz_download.htm
Choose a Russian or English version of the program with your bit.

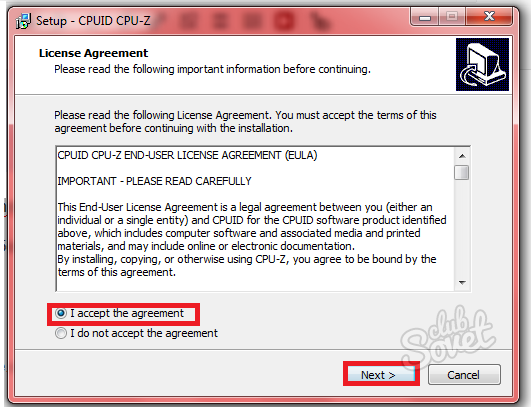
After downloading, start the installer and agree with the license agreement.
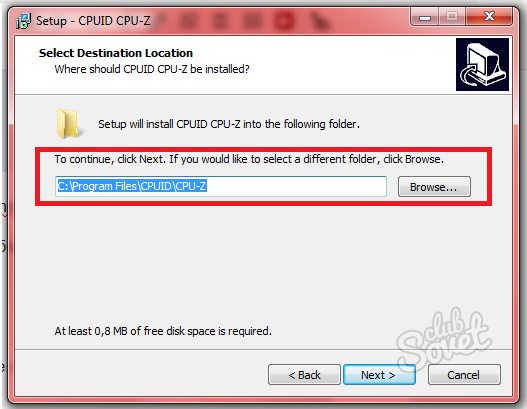
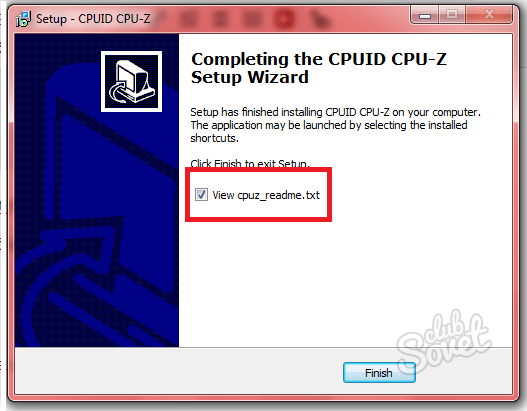
You just have to indicate the directory of the installation, set the name to the folder and the label. Immediately after installing, the software will offer you to read the documentation, reject this proposal.
Just remove the checkmark from the words “View Cpuz Readme”. Click “OK”.
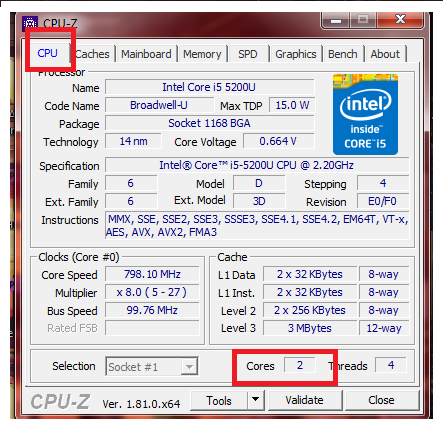
An open program has a small window with many settings. You need a “CPU” tab, and in it the “Cores” line. Change this value to the actual number of your nuclei. After that, close the program and reload.
How to enable all nuclei in Windows 7 via aida64
Another program will come in handy if you do not even know the approximate number of nuclei of your computer. The AIDA program sets up the work of CPU, video cards and much more. Download the trial version on the site https://www.aida64.com
Choose a version of AIDA64 EXTREME.

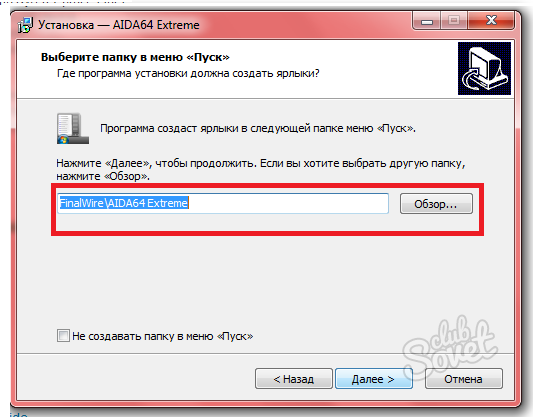
Installation in the same way does not take much time and does not require special knowledge in the field of computers.
After the installation is completed, go to the program and pay attention to the left menu. Here, click on the “System Code” section, and then “CP”. Find the line “Multi CPU”, which contains complete data about each of your processor core.
Put the value of the nuclei indicated in this section. Reload the computer and try to check the number of cores again, because they can easily stray again. Now the performance of the computer will increase several times, since all the work will be distributed evenly. If you want to subtly configure the work of nuclei, it is better to continue to use CPU-Z.