The laptop power supply is usually an external device. Moreover, there is no single standard, so each manufacturer of laptops "creates" the design of the power supply to its own discretion. All components of this device are well fastened and are a monoblock, which, at first glance, is very difficult to disassemble. However, nothing is impossible.
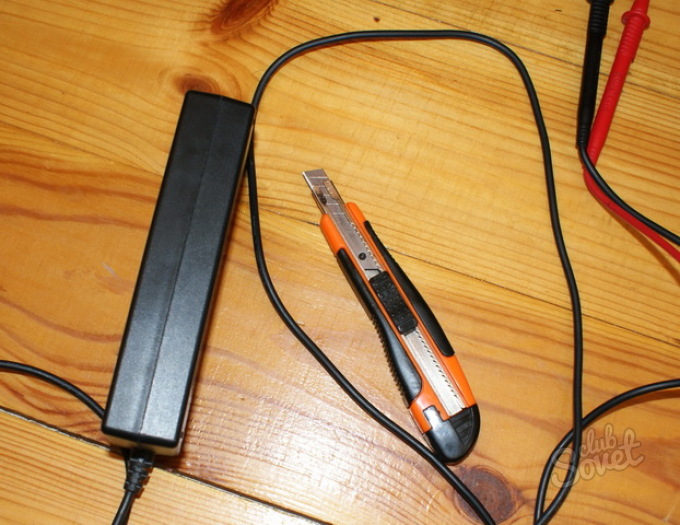
Most often, disassemble the power supply in case you need to replace the damaged cord. We take a block and a sharp thin knife or scalpel. We put the device on the side and gently insert our cutting tool into the groove of the charger seam, retreating from the angle of about 5 millimeters. This will prevent damage to the fasteners. Lightly tapping on the knife or scalpel with a hammer, gently cut the plastic on the seam. At the same time, the blade should come into contact with the plastic not the entire surface, and about 15-30 millimeters. Bey is not very much so that the side bent a little and went away, but did not break. So "process" seam - first on long sides, then short. It is allowed to repeat the procedure if the block was not operated from the first time.

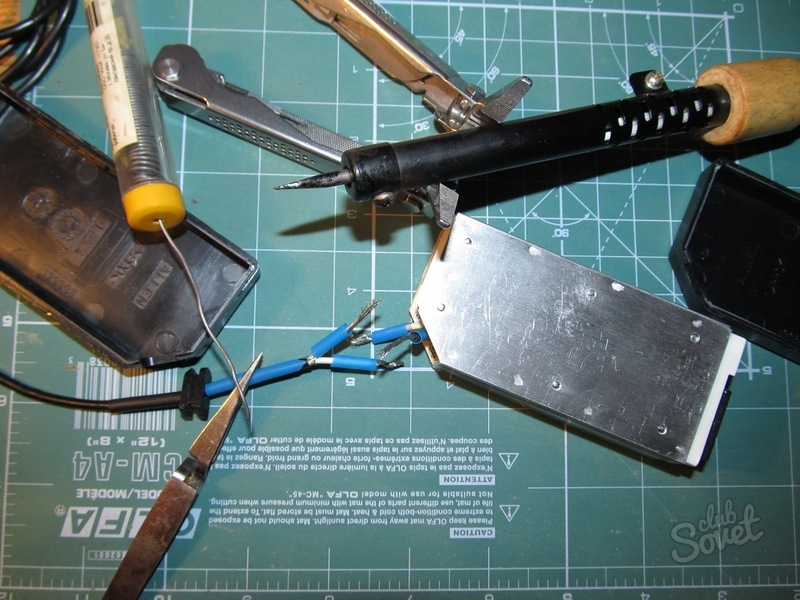

It is worth noting that the blocks of the laptops are not intended for independent repairs, however, with a professional approach, the device will not suffer and will continue to function. If you disassemble neatly and also qualitatively folded the device back, the appearance will not change.