Among the software intended for combining photos in videos, in its functionality, film studios are allocated (from the key of the main components of Windows) and the photo shop program. The disadvantage of the first is essential system requirements for PC. The second without problems works on weak machines, but it will have to pay for it.
1
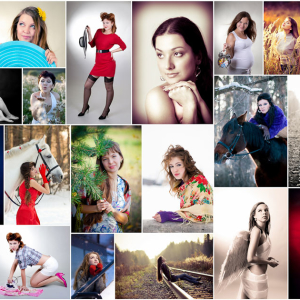
Support the domestic manufacturer. We purchase, install and open the program Photoshou Pro. Click the button " Slideshow in 5 minutes"If we are satisfied with the rapid creation of a video according to one of the proposed templates, or" New project"When a non-standard result is needed.
2
On the Master Program window, select the directory with files in one of the graphic formats.
3
Thinking the required photos to the ruler. Select other directories and continue to add a photo. We form the necessary sequence of images, dragging them into the right places.
4
In accordance with the default settings, for all added photos, the same display durations and transitions are installed, as well as randomly generated effects when changing the next slide. To change the general parameters, click " Project Settings"And ask comfortable durations to view slides and transitions. Here we change the background settings and other display nuances.
5
Individual parameters For each show element, configure using the context menu by clicking on the photo or go to the right mouse button.
6
We switched to the Effects tab, where we choose and put on the images you like "Beautiful". For more detailed settings, call the slide editor by pressing the button with a pencil under the appropriate photo.
7
In the editor, choose and configure various visual effects of a large number of available available.
8
In addition, they also impose acoustic support for the slide:
sounds from the collection running with the collection program;
choosing an audio file as a source;
taking advantage of the microphone.
9
We switch to the Transitions tab and install the effects accompanying photos.
10
On the Music tab, configure audio display parameters by writing your own voice comments or setting external sources. To do this, press the button " Add a music file"And add the required audio records to the project.
11
We specify the beginning and end of the audio fragments by pressing the button with scissors at the end of each line corresponding to the added file.
12
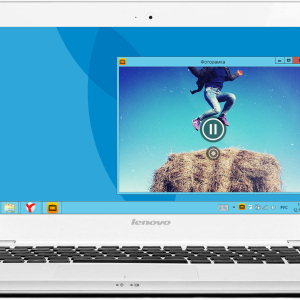
If necessary, add to the beginning and end of the future roller slides with titles and titers. Fill out the desired text fields using the editor panel. We view all the prepared material by clicking on the button " Start»Player on the right side of the main program window.
13
We switch to the Create tab and specify the appointment of the content. It can be:
slideshow in various formats for local viewing on a computer or screen of a mobile device;
standard DVD structure for writing to disk;
video adapted to accommodate on the Internet.
14
For example, we select publication on the Internet, specify the resource on which it is planned to place the video created, and set its maximum resolution.
15
Click the button " Further"And specify the basic parameters of the video.
16
Press the button " Convert" After specifying the place to save the video file begins the process of creating a roller.
Creating videos from a photo set over the finished template or using the default program settings is performed very quickly and does not cause any difficulties even with an unprepared user.