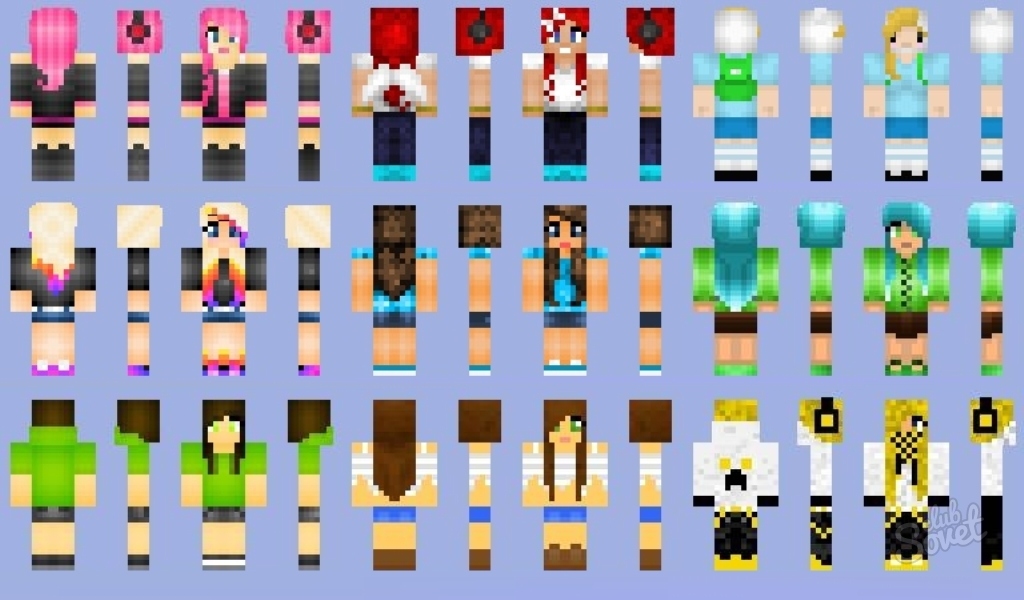
In Minecraft game almost everything is thought out at the highest level. But despite the efforts of developers, it is still present and disadvantages, for example, one type of your character. And if you want to stand out or to emphasize their individuality, it is necessary to install a custom skin.
What is a skin? In English the word "Skin A" means "skin," and indeed it is the texture, which is responsible for the appearance of the character in the game. Physically, this is a small file with the PNG, which houses the information about what it looks like Steve. If you replace the standard file, you do not get anything new in the game, in addition to improved picture. In addition, the very texture is usually divided into two layers - the skin directly and accessories like helmets, armor, etc. Also it can be transparent or translucent since the game will issue regular monotonous appearance. First, let's talk about how to replace the default skin of the character on a pirate version of Minecraft. The advantage of such replacement - is that it is completely free. But there is a big disadvantage: the game on the network or on the server of the skin will only be displayed to you, the rest of the players can see the standard image of Steve. To do this, download skins from any resource, which can be downloaded free content for different versions of the game, for example, this site. Himself the skin is a common picture, and so you need to change the name and the file extension to «char.png».- C: / Users / your account name / AppData / Roaming / .minecraft / bin for Windows Vista operating systems, 7 or 8;
- C: / Documents and Settings / User Name for your account / Application Data / .minecraft / bin for Windows XP.
But if you do not know how to enable the display of hidden files to see the "APPDATA" folder, then go to the Start menu and select "Run". In the appeared window, enter "% APPDATA% \\. Minecraft \\ Bin" and click OK.

Now you know how to make your character in Minecraft unique, demonstrating all your taste and fantasy.


