Ombre or gradient manicure literally means a smooth transition from one color to another. The application of varnish using ombrum is a rather painstaking procedure. So that the manicure holds longer and retained the rich color and shine, it is recommended to use gel varnishes.
Preparation of materials
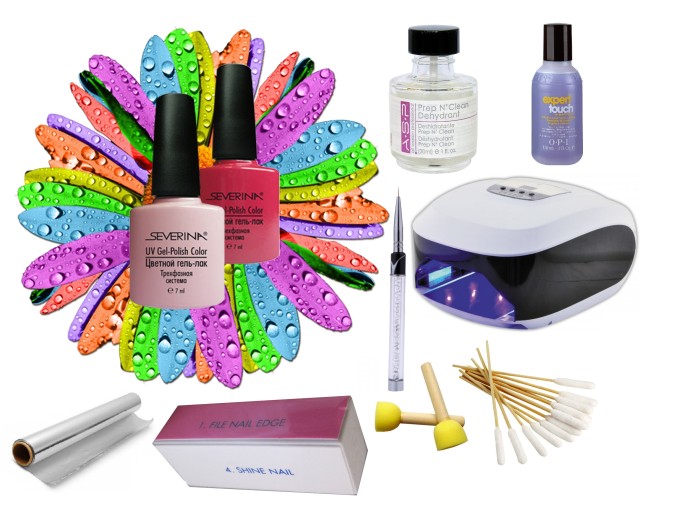
For self-fulfillment, you will need the following materials:
- manicure set;
- bAF;
- uV lamp;
- dehydrator for degreasing nails;
- base under gel varnish;
- final coating providing glossy shine;
- 3 colored gel varnish of different shades;
- thin nylon bruster for making decisive colors;
- a piece of foil;
- cosmetic sponge or sponge;
- fat hand cream;
- toothpick;
- cotton buds;
- means for removing varnish or solvent;
- wipes for wiping brushes;
- fat hand cream.
Features of the procedure
Ombre technique requires little practice, so if you want to perform this manicure yourself, you need to consider the following nuances:
- Ombre looks beautiful if a quality gradient flower transition is made. Therefore, be patient, you may have to repaint nails several times.
- Practice first with ordinary varnishes, listen to the receptions with a sponge or tassel, see how you get better, and only then go to the staining with gel varnishes.
- If you leave the nail base with colorless, the manicure will last longer, because the growing part will not stand out.
- Gently use a liquid for removing a varnish or solvent. You can damage the drawing when removing the lacquer from the skin. If the excess gel varnish is not completely removed, it will pull the lacquer from the nail plate during drying.
Preparation of nails
So that the gel varnish lay down perfectly and reliably held, it is important to prepare nails before performing ombré:
- Do the main nail care - remove the cuticle, align the length, give the desired shape.
- Apply fat cream on the skin around the nails.
- Collect the nail using the BAU.
- Treat a dehydrator or degreasing agent.
- Apply the basis for gel varnish and dried under the ultraviolet lamp for 1 minute.
Now your marigolds are prepared for Ombre-coloring. There are 2 options for performing this stage - with the help of foil and sponge or using a special tassel.
Ombre with foil and sponge
This option is recommended for beginners, since it allows you to achieve a gradient transition without special skills.
- Color nail plates with gel varnish of the bright color itself, dry under the ultraviolet lamp.
- On the foil segment, spread two gel varnish of different colors and make a "ladder" toothpick on their border.
- Take a wet sponge, flow into the lacquer on the foil and impose on the nails. Slightly move the sponge up and down to achieve blurring colors on the borders.
- Wipe the skin around the nail with a cotton wand, in a mixture of it in a solvent.
- Dry in UV lamp 2 minutes.
- Apply the finish coating and succumb to the lamp.
Ombre with a brush
Mixing colors with brush requires certain skills, but after the development of this technique, the time for the execution of ombright will be paid much less than at the first option:
- After painting the nails with the brightest gel varnish, apply one of the gel varnishes on the nails, which will be in the middle of the nail, and the lower boundary of the thin brush is rising.
- To get a smooth transition, and the colors have saved their saturation, as often as possible, wipe the tassel with a napkin.
- Dry under the lamp for 2 minutes.
- Apply the brightest color to the edge of the nail, we grow a brush transition to the middle color. Dry for 2 minutes.
Then also apply the finish coating that hides small irregularities and provides shine.
The ability to mix different colors when performing ombrie makes a manicure suitable for everyday style and for a bright party. You can master the mesmer technique yourself by purchasing the necessary accessories. It is possible that you will not work the first time. Do not be discouraged, a little practice - and you will admire the bright color transitions on the nails and hit the surrounding.


